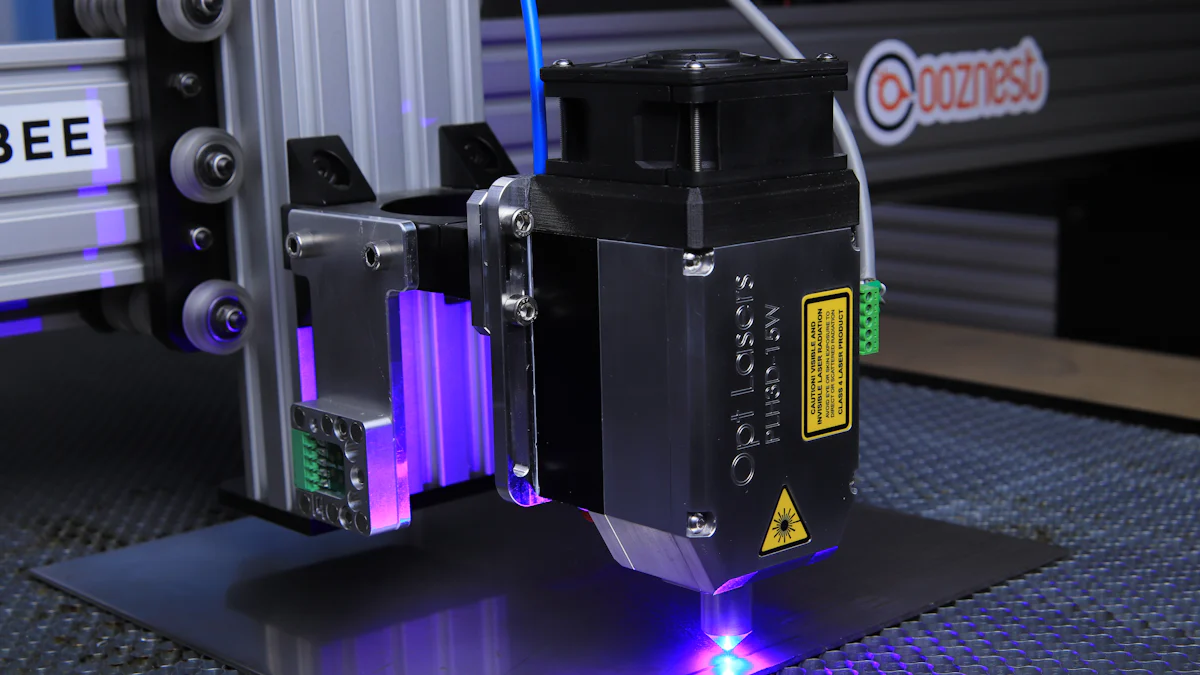
Tips to Change Between Laser Cut and Engrave


Laser cutting and engraving may seem similar, but they serve distinct purposes. Laser cutting involves slicing through materials, requiring higher power levels and precision. Engraving, on the other hand, focuses on surface detailing, using less power. Understanding these differences is crucial for optimizing your laser processes. You can enhance productivity by selecting the right settings and materials. For instance, engraving typically demands less power than cutting thick materials. Knowing how to change between laser cut and engrave machine settings effectively can save energy and improve results.
How to Change Between Laser Cut and Engrave Machine
Switching between laser cutting and engraving requires careful adjustment of your machine's settings. Understanding how to change between laser cut and engrave machine settings can significantly enhance your results. Here’s a guide to help you make these changes effectively.
Adjusting Power Levels
Power levels play a crucial role in both laser cutting and engraving. You need to adjust them according to the task at hand.
Power settings for cutting
When cutting, you should use high laser power to ensure clean and precise cuts. This is especially important for thicker materials. A good laser cutting machine will allow you to fine-tune the power settings to match the material's thickness and type. This helps avoid excessive heating and ensures a smooth cut.
Power settings for engraving
Engraving requires less power compared to cutting. Lower power settings prevent the material from burning or distorting. You can use presets available in your machine to quickly switch to the appropriate power level for engraving. This not only saves time but also ensures consistency in your work.
Modifying Speed Settings
Speed settings are equally important when transitioning between cutting and engraving. They determine the quality and efficiency of the process.
Speed considerations for cutting
For cutting, you should set a slower speed to allow the laser to penetrate through the material effectively. This ensures that the cut is clean and precise. Adjusting the speed settings according to the material's thickness can help achieve the best results.
Speed considerations for engraving
Engraving typically requires a faster speed. This allows for quick surface detailing without damaging the material. By optimizing the speed settings, you can enhance the efficiency of the engraving process. Many machines offer suggested speed settings for different materials, which can be a helpful starting point.
By understanding how to change between laser cut and engrave machine settings, you can optimize your laser cutting and engraving processes. This not only improves the quality of your work but also reduces operational costs by optimizing power consumption.
Choosing the Right Materials
Selecting the appropriate materials is crucial for achieving optimal results in laser cutting and engraving. Different materials have unique properties that affect how they interact with laser energy. Understanding these properties helps you make informed decisions when choosing the right materials for your projects.
Material Compatibility
When it comes to laser cutting and engraving, not all materials are created equal. Some materials work better for cutting, while others are more suitable for engraving.
Best materials for cutting
For cutting, you should consider materials like wood, acrylic, and certain metals. These materials absorb laser energy efficiently, allowing for precise cuts. Wood and acrylic are popular choices due to their ease of cutting and availability. Metals like stainless steel and aluminum require higher power settings but offer excellent results for industrial applications. The key is to match the material's properties with the laser's capabilities to ensure clean and accurate cuts.
Best materials for engraving
Engraving works best on materials that can hold fine details without distorting. Wood, leather, and glass are excellent choices for engraving. These materials allow for intricate designs and detailed surface structuring. When engraving, you should focus on materials that provide a good contrast between the engraved area and the untouched surface. This enhances the visibility and quality of the engraved design.
Material Thickness and Density
The thickness and density of materials significantly impact the laser cutting and engraving processes. Understanding these factors helps you optimize your settings for better results.
Impact on cutting
Material thickness plays a vital role in cutting. Thicker materials require more laser power to penetrate through, which can affect the quality of the cut. You should adjust the power settings based on the material's thickness to avoid excessive heating and ensure a smooth cut. Additionally, the density of the material influences the kerf width and angle. Denser materials may result in wider kerfs, affecting the precision of the cut.
Impact on engraving
For engraving, material thickness and density determine how well the laser can etch the surface. Thicker materials may require multiple passes to achieve the desired depth, while denser materials might need adjustments in power and speed settings. You should consider the material's absorption rate for laser wavelength to ensure efficient engraving. By understanding these factors, you can achieve high-quality engravings with minimal effort.
Choosing the right materials and understanding their properties can greatly enhance your laser cutting and engraving projects. By considering material compatibility, thickness, and density, you can optimize your processes for better material quality and improved results.
Software Considerations for Laser Engraving Machine
When working with a laser engraving machine, software plays a pivotal role in achieving precise and efficient results. Understanding the software settings and file preparation is essential for optimizing both cutting and engraving processes.
Design Software Settings
Design software settings are crucial for controlling how your laser engraving machine interprets your designs. You need to adjust these settings to suit the specific requirements of your project.
Vector vs. Raster Settings
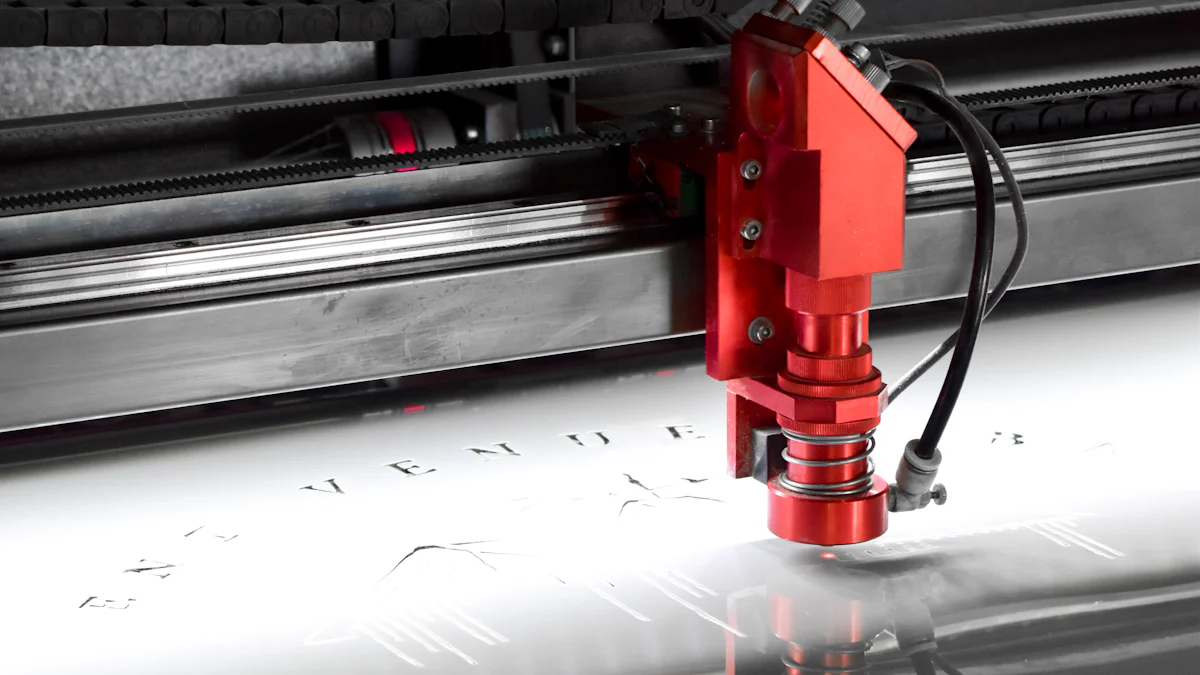
In laser engraving, you often choose between vector and raster settings. Vector settings are ideal for cutting and outlining shapes. They guide the laser along precise paths, making them perfect for creating an accurate laser cutting file. On the other hand, raster settings are used for engraving detailed images or text. The laser moves back and forth across the material, similar to how a printer works, to create intricate designs. Understanding when to use each setting can significantly impact the quality of your work.
Layer Management for Dual Processes
Layer management is another important aspect when using a laser engraving machine. By organizing your design into layers, you can easily switch between cutting and engraving tasks. This allows you to apply different settings to each layer, optimizing the process for both tasks. For instance, you might set one layer for cutting with high power and slow speed, while another layer uses lower power and faster speed for engraving. Proper layer management ensures that your laser engraving machine operates efficiently and accurately.
File Preparation
Preparing your files correctly is essential for successful laser cutting and engraving. Proper file preparation ensures that your designs are accurately translated into physical products.
Preparing Files for Cutting
When preparing files for cutting, focus on creating clean and precise vector paths. Use vector file editing tools like Adobe Illustrator or CorelDraw to ensure your paths are smooth and closed. This prevents the laser from misinterpreting the design and ensures clean cuts. Additionally, consider the material preparation by adjusting the settings to match the material's thickness and type. This helps achieve the best results with your laser engraving machine.
Preparing Files for Engraving
For engraving, file preparation involves setting up your design for raster processing. Use your graphics program to create the layout and send it to the laser using the printer driver. Ensure that your design has the correct resolution and contrast to achieve the desired engraving quality. Many laser engraving machines offer pre-tested laser parameters for different materials, which can save you time and effort in finding the right settings. By preparing your files meticulously, you can enhance the efficiency and quality of your laser engraving projects.
Focusing Techniques to Improve Laser Cutting Speed
Proper focus is essential for achieving high-quality results in both laser cutting and engraving. By adjusting the focal settings accurately, you can enhance the efficiency and precision of your work. Let's explore how to optimize focus for both cutting and engraving processes.
Adjusting Focus for Cutting
When it comes to laser cutting, the focal position plays a crucial role in determining the quality of the cut. You need to ensure that the laser beam is focused precisely on the material's surface to achieve clean and accurate cuts.
Optimal focus settings
To set the optimal focus for cutting, position the laser's focal point slightly below the surface of the material. This allows the laser to penetrate effectively, resulting in a smooth and precise cut. Many laser machines come with built-in focus adjustment tools, which help you set the correct focal position easily. Regularly checking and calibrating these settings ensures consistent cutting quality.
Common focus issues
Several common issues can arise if the focus is not set correctly. An incorrect focal position can lead to uneven cuts or excessive burning of the material. If you notice these problems, recheck the focus settings and make necessary adjustments. Ensuring the laser beam is properly aligned with the material surface can prevent these issues and improve laser cutting speed.
Adjusting Focus for Engraving
Engraving requires a different approach to focus compared to cutting. The focal settings must be adjusted to achieve detailed and precise surface etching.
Optimal focus settings
For optimal engraving results, set the focal point directly on the material's surface. This ensures that the laser beam interacts effectively with the material, allowing for detailed and intricate designs. Adjusting the focal position accurately helps maintain the quality of the engraving and prevents distortion.
Common focus issues
Incorrect focus settings can lead to blurred or uneven engravings. If you encounter these issues, verify the focal position and make necessary corrections. Regular maintenance of the laser machine, including cleaning the lenses and checking alignment, can also help prevent focus-related problems. By addressing these issues, you can achieve high-quality engravings consistently.
By mastering the art of focusing, you can significantly improve laser cutting speed and enhance the quality of your engraving projects. Proper focus settings ensure that your laser machine operates efficiently, delivering precise and accurate results every time.
Practical Tips for Optimizing Laser Cutting Quality
Enhancing laser cutting quality involves a combination of strategic workflow optimization and diligent maintenance. By focusing on these areas, you can achieve superior cut quality and reduce processing time, ultimately boosting production efficiency.
Workflow Optimization
Improving your workflow can significantly impact the quality of your laser cutting projects. Here are some strategies to streamline your processes:
Streamlining Transitions
Efficient transitions between different tasks can save time and improve laser cutting quality. Organize your workspace to minimize the movement of materials and tools. Ensure that your laser cutting machine is easily accessible and that all necessary materials are within reach. By reducing unnecessary steps, you can maintain a consistent workflow and enhance the overall quality of your cuts.
Reducing Setup Time
Reducing setup time is crucial for improving efficiency and cut quality. Prepare your materials and settings in advance to minimize downtime. Use templates or jigs to quickly position materials on the cutting bed. Pre-program your machine with the appropriate settings for each material type to avoid delays. These practices not only save time but also ensure that your laser cutting quality remains high.
Maintenance and Calibration
Regular maintenance and precise calibration are essential for maintaining optimal laser cutting quality. Here are some tips to keep your machine in top condition:
Regular Maintenance Tips
Consistent maintenance is key to preserving the quality of your laser cuts. Clean the lenses and mirrors regularly to prevent distortion and maintain accuracy. Check the alignment of the laser beam to ensure it hits the material at the correct angle. Inspect the nozzle for any blockages or wear that could affect the quality of the cut. By keeping your machine well-maintained, you can reduce processing time and improve the overall quality of your projects.
Calibration for Accuracy
Accurate calibration is vital for achieving high-quality cuts. Adjust the focus of the laser to match the thickness of the material you are working with. Ensure that the power settings are appropriate for the material type to avoid striations or burns. Regularly calibrate your machine to maintain consistent cut quality. By focusing on these details, you can enhance the precision and quality of your laser cutting projects.
By implementing these practical tips, you can optimize your laser cutting quality and achieve superior results. Streamlining your workflow and maintaining your equipment will not only save time but also ensure that your projects meet the highest standards of quality.
In this blog, you learned essential tips for switching between laser cutting and engraving. You discovered how adjusting power and speed settings can optimize your results. Choosing the right materials and understanding their properties enhances your projects. Proper software settings and file preparation ensure precision. Focusing techniques improve cutting speed and quality. Regular maintenance keeps your machine in top condition.
Remember, practice makes perfect. Experiment with different settings and materials to find what works best for you. By mastering these techniques, you can achieve superior laser cutting and engraving results.
FAQ
How large can you laser cut or engrave?
Laser cutting and engraving involve moving a CNC laser in the X-Y plane. This process allows you to engrave just the surface or cut entirely through a material. However, because there is no Z movement, you cannot create blind holes or slots. The size of your project depends on the dimensions of your laser machine's bed. Always check your machine's specifications to understand its capacity.
What are the key settings to adjust when switching between cutting and engraving?
When transitioning between cutting and engraving, focus on adjusting the power and speed settings. Cutting requires higher power and slower speed to penetrate materials effectively. Engraving, however, needs lower power and faster speed for detailed surface work. These settings ensure optimal results for each process.
Can all materials be used for both laser cutting and engraving?
Not all materials are suitable for both processes. Some materials, like wood and acrylic, work well for both cutting and engraving. Others, such as certain metals, may require specific settings or may only be suitable for one process. Always verify material compatibility with your laser machine's capabilities.
How do I prepare my files for laser cutting and engraving?
File preparation is crucial for successful laser projects. For cutting, use vector paths to guide the laser precisely. For engraving, prepare raster images with the correct resolution and contrast. Use design software to ensure your files are ready for the laser machine.
What maintenance is necessary to keep my laser machine in top condition?
Regular maintenance includes cleaning lenses and mirrors, checking alignment, and inspecting the nozzle for blockages. These steps prevent distortion and maintain accuracy. Consistent upkeep ensures your machine operates efficiently and produces high-quality results.
How does material thickness affect laser cutting and engraving?
Material thickness impacts both processes significantly. Thicker materials require more power for cutting, which can affect cut quality. For engraving, thicker materials may need multiple passes to achieve the desired depth. Adjust your settings based on the material's thickness for optimal results.
What software settings should I consider for laser engraving?
Consider vector versus raster settings based on your project needs. Vector settings are ideal for cutting and outlining, while raster settings suit detailed engravings. Layer management also helps in organizing tasks and applying different settings for cutting and engraving.
How can I improve the speed of my laser cutting process?
Improving speed involves optimizing focus settings and streamlining workflow. Ensure the laser's focal point is correctly positioned for efficient cutting. Organize your workspace to minimize transitions and setup time, enhancing overall speed and quality.
What are common focus issues in laser cutting and engraving?
Common focus issues include uneven cuts or blurred engravings. These problems often arise from incorrect focal settings. Regularly check and adjust the focus to align the laser beam with the material surface, ensuring precise and accurate results.
How do I choose the right materials for my laser projects?
Select materials based on their compatibility with laser processes. Consider factors like absorption rate, thickness, and density. Materials like wood, leather, and glass are excellent for engraving, while metals and acrylics are suitable for cutting. Understanding these properties helps you make informed choices.
See Also
Maximizing Efficiency With Your Laser Cutting Machine
A Comprehensive Tutorial for Acrylic Cutting Using Cricut
Essential Advice for Wood Cutting with Cricut Devices