How to Cut Thread After Sewing Machine Stitches


Cutting thread after sewing machine stitches is a vital step in sewing, especially when considering how to cut thread after sewing machine use. It ensures your project looks polished and professional. Neatly trimmed threads not only improve the appearance but also enhance the durability of your seams. A well-finished seam prevents unraveling and keeps your work intact over time. Using the right tools, like sharp scissors or thread snips, makes this process easier and more precise. Remember, thread quality matters too. A strong, uniform thread contributes to better seam strength and reduces the risk of fraying. Mastering this skill, including how to cut thread after sewing machine tasks, elevates the overall quality of your sewing projects.
Key Takeaways
- Use sharp fabric scissors or thread snips for clean, precise cuts to enhance the appearance of your sewing projects.
- Always leave a small thread tail of about 1/8 inch when cutting to prevent unraveling and maintain seam integrity.
- Secure thread ends by backstitching or tying knots to ensure durability, especially in high-stress areas of your projects.
- Invest in high-quality thread to reduce fraying and improve the overall strength of your seams. Practice cutting on scrap fabric to refine your technique and build confidence before working on your main projects.
- Regularly sharpen your sewing tools to maintain their effectiveness and prevent damage to your fabric and threads. Avoid using household scissors for sewing tasks; instead, dedicate specific tools for sewing to achieve professional results.
Tools You Need for Cutting Thread After Sewing Machine Stitches
Having the right tools is essential for achieving clean and professional results when cutting thread after sewing machine stitches. The tools you choose can significantly impact the precision and appearance of your work. Below, you'll find a breakdown of essential and optional tools to help you master this skill.
Essential Tools for Neat and Professional Thread Cutting
To ensure your sewing projects look polished, you need reliable tools that make cutting threads easy and accurate. Here are the must-haves:
Sharp fabric scissors
A pair of sharp fabric scissors is indispensable for cutting threads and trimming fabric edges. High-quality scissors provide clean cuts without fraying the thread or fabric. Keep a dedicated pair for sewing tasks to maintain their sharpness. Avoid using them on paper or other materials, as this can dull the blades.
Thread snips
Thread snips, also known as thread nippers, are compact tools designed for precision. Their short blades allow you to snip threads close to the fabric without accidentally cutting into your project. These are perfect for quickly trimming loose threads during or after sewing.
Seam rippers (for removing unwanted stitches)
Mistakes happen, and that's where a seam ripper becomes invaluable. This tool helps you remove incorrect stitches efficiently without damaging the fabric. A high-quality seam ripper with a sharp blade ensures you can start over cleanly when needed.
Pro Tip: Always handle sharp tools carefully to avoid accidents. Store them in a safe place when not in use.
Optional Tools for Enhanced Precision
While the essential tools cover most of your needs, optional tools can provide added precision and convenience for specific projects. Consider these options:
Small embroidery scissors
Small embroidery scissors are ideal for intricate work. Their fine, pointed blades allow you to cut threads in tight spaces with ease. These scissors are especially useful for detailed sewing projects like embroidery or applique.
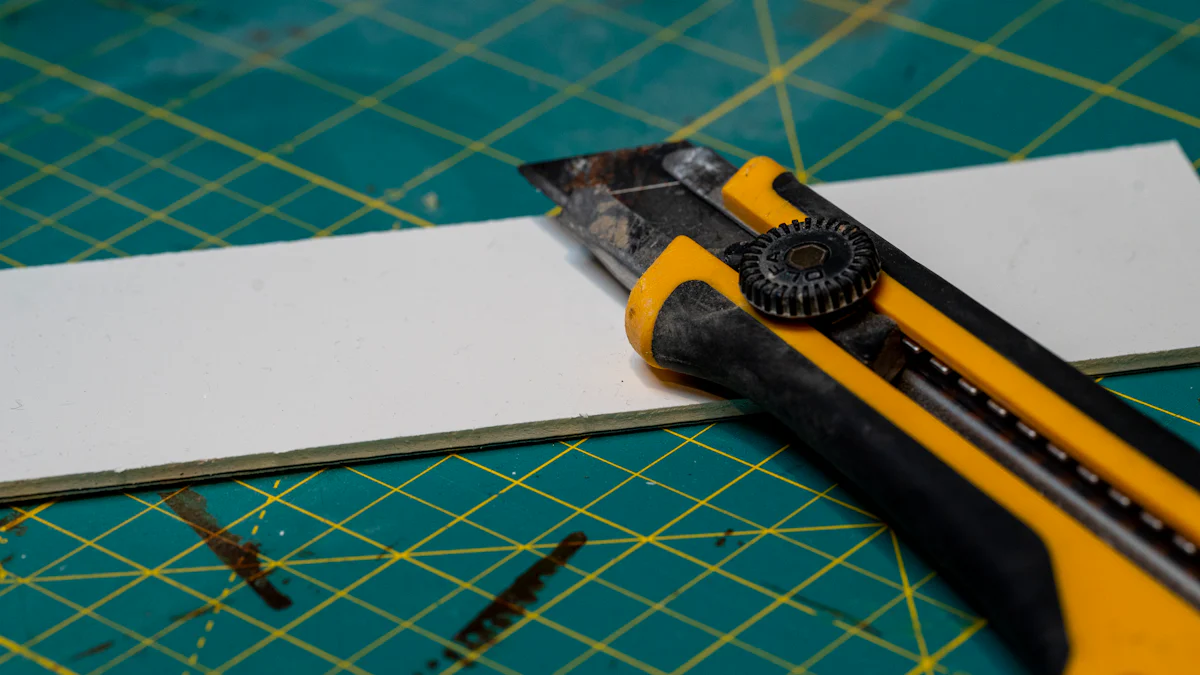
Rotary cutters (for specific projects)
Rotary cutters are versatile tools often used for cutting fabric, but they can also be helpful for trimming threads in certain situations. They work best on flat surfaces and are great for projects requiring straight, clean cuts.
Thread clippers with ergonomic handles
Thread clippers with ergonomic handles offer comfort during extended sewing sessions. These tools reduce hand strain while providing precise cuts. They are an excellent choice if you frequently work on large or detailed projects.
Did You Know? Tools like the Thread Tamer can help manage slippery or curled threads, ensuring smoother sewing and easier cutting.
Investing in high-quality tools not only improves your results but also makes the process of cutting thread after sewing machine stitches more enjoyable. With the right equipment, you'll achieve professional-looking finishes every time.
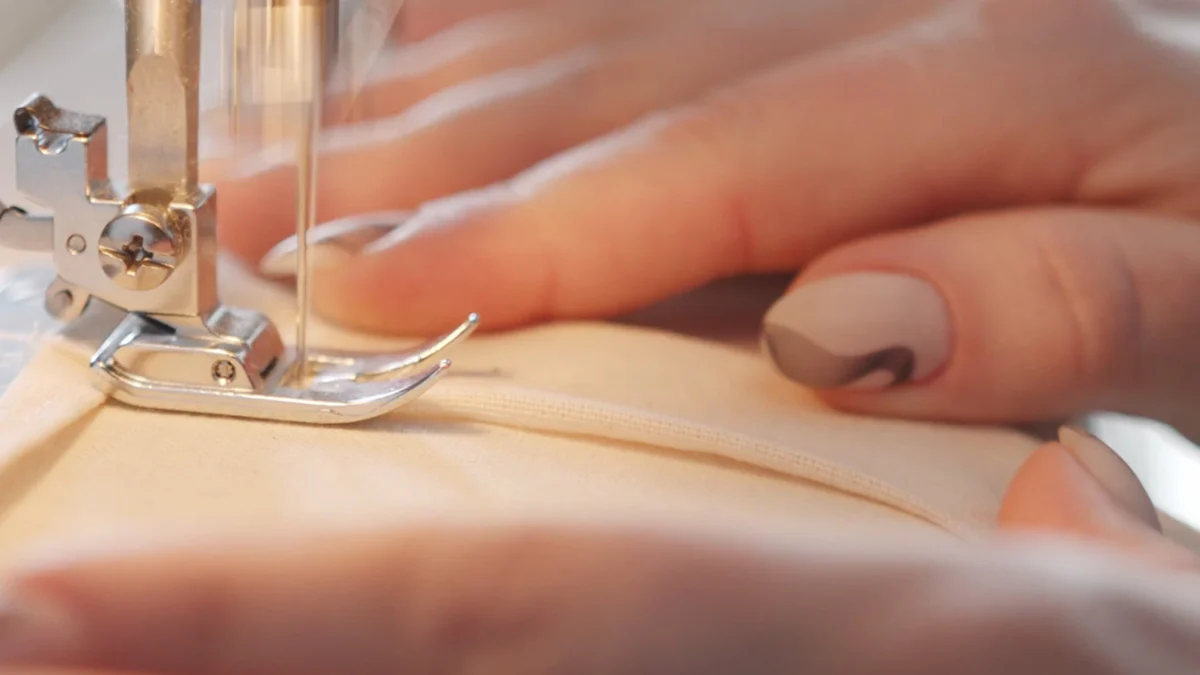
Step-by-Step Guide on How to Cut Thread After Sewing Machine Stitches
Mastering the process of cutting thread after sewing machine stitches ensures your projects look polished and professional. Follow these steps to achieve clean and secure results every time.
Positioning the Thread for Cutting
Proper positioning is the first step in learning how to cut thread after sewing machine stitches. This ensures you can trim threads neatly without damaging your fabric.
Stop the sewing machine with the needle in the up position.
Always stop your sewing machine with the needle raised. This prevents the thread from tangling or pulling unevenly. A raised needle also makes it easier to access the thread ends for cutting.
Pull the fabric gently to expose the thread ends.
Carefully pull the fabric away from the machine. This action reveals the thread ends, giving you a clear view for precise trimming. Avoid tugging too hard, as this could distort your stitches or damage delicate fabrics.
Expert Tip: "Be sure that you're using the right thread for the fabric and the type of stitch work." Using the correct thread ensures smoother cutting and reduces the risk of fraying.
Cutting Close to the Fabric
Cutting threads close to the fabric creates a clean finish. However, precision is key to avoid compromising the integrity of your stitches.
Use sharp scissors or snips to trim the thread close to the fabric.
Choose sharp scissors or thread snips for this task. Dull tools can fray the thread or leave uneven edges. Hold the scissors steady and make a clean cut near the fabric surface.
Leave a small tail (about 1/8 inch) to prevent unraveling.
Avoid cutting the thread too close to the fabric. Leave a tiny tail, approximately 1/8 inch long. This small allowance helps prevent the thread from slipping through the stitches and unraveling over time.
Pro Tip: High-quality tools, such as thread snips or small embroidery scissors, make it easier to achieve precise cuts without damaging your project.
Securing the Thread Ends
Securing the thread ends adds durability to your seams. This step is especially important for garments or items that will undergo frequent use or washing.
Tie off the thread ends for extra security (if needed).
For added strength, tie a small knot at the thread ends. This technique works well for seams that may experience stress, such as those in bags or upholstery. Ensure the knot is tight but not bulky.
Use a backstitch or lockstitch to secure the seam.
If your sewing machine has a backstitch or lockstitch function, use it to reinforce the seam. These stitches lock the thread in place, preventing it from unraveling. Run the machine backward for a few stitches at the start and end of the seam for maximum security.
Did You Know? Backstitching not only secures the thread but also enhances the overall durability of your sewing projects.
By following these steps, you can confidently handle how to cut thread after sewing machine stitches. With practice, this process will become second nature, ensuring your projects always have a professional finish.
Tips for Professional Results When Cutting Thread
Achieving professional results when cutting thread after sewing machine stitches requires attention to detail and the right techniques. By following these tips, you can ensure your sewing projects look polished and last longer.
Maintain Sharp Tools
Sharp tools are essential for clean and precise thread cutting. Dull blades can fray threads and damage fabric, compromising the quality of your work.
Regularly sharpen scissors and snips for clean cuts.
Keep your scissors and snips sharp to achieve smooth, clean cuts. Regular sharpening prevents jagged edges and ensures your tools perform efficiently. You can use a sharpening stone or take your tools to a professional for maintenance.
Avoid using fabric scissors on paper or other materials.
Dedicate your fabric scissors solely to sewing tasks. Cutting paper or other materials dulls the blades quickly, reducing their effectiveness. Protect your investment by reserving these scissors for fabric and thread only.
Quick Tip: Label your fabric scissors to avoid accidental misuse. This simple step helps maintain their sharpness over time.
Avoid Fraying and Loose Threads
Fraying and loose threads can ruin the appearance of your sewing projects. Prevent these issues by using high-quality materials and applying finishing techniques.
Use high-quality thread to reduce fraying.
Choose strong, high-quality thread for your sewing projects. Inferior threads tend to fray and weaken seams, especially after washing. A durable thread enhances seam strength and ensures a neat finish.
Seal thread ends with a small dab of fabric glue (optional).
For extra security, apply a tiny amount of fabric glue to the thread ends. This technique works well for projects that require additional durability, such as bags or upholstery. Allow the glue to dry completely before handling the fabric.
Did You Know? Proper thread cutting techniques, combined with high-quality materials, improve seam efficiency and tensile strength, ensuring your projects withstand wear and tear.
Keep Tension Consistent
Consistent thread tension is crucial for achieving even stitches and preventing thread breakage. Proper tension also makes cutting threads easier and more precise.
Ensure proper thread tension on your sewing machine.
Adjust your sewing machine's tension settings to match the fabric and thread you're using. Incorrect tension can cause uneven stitches, making it harder to cut threads cleanly. Test the tension on a scrap piece of fabric before starting your project.
Practice on scrap fabric to perfect your technique.
Before working on your main project, practice cutting threads on scrap fabric. This allows you to refine your technique and gain confidence. Experiment with different tools and methods to find what works best for you.
Pro Insight: Sewing speed affects stitch length and seam strength. Slower speeds often result in more precise stitches, making thread cutting easier and more accurate.
By maintaining sharp tools, preventing fraying, and ensuring consistent tension, you can master how to cut thread after sewing machine stitches. These tips not only enhance the appearance of your projects but also improve their durability, helping you achieve professional results every time.
Common Mistakes to Avoid When Cutting Thread After Sewing Machine Stitches
Avoiding common mistakes when cutting thread after sewing machine stitches is essential for achieving a polished and durable finish. By understanding these pitfalls, you can refine your technique and ensure your projects maintain their quality over time.
Cutting Too Close to the Fabric
Cutting thread too close to the fabric can compromise the integrity of your stitches. This mistake often leads to unraveling, which weakens the seam and affects the overall durability of your project.
Avoid trimming thread so close that it risks unraveling.
When you cut thread too close to the fabric, you risk the thread slipping through the stitches. This can cause the seam to come undone, especially during washing or frequent use. Always leave a small allowance to maintain the strength of your stitches.
Leave a small tail for added security.
Leaving a small thread tail, about 1/8 inch, provides extra security. This tiny length acts as a buffer, preventing the thread from unraveling while keeping the seam intact. It’s a simple yet effective way to enhance the longevity of your sewing projects.
Pro Tip: Use sharp tools to make clean cuts. Jagged edges from dull scissors can weaken the thread and increase the risk of fraying.
Using Dull or Incorrect Tools
The tools you use play a significant role in the quality of your thread cutting. Dull or inappropriate tools can damage both the thread and the fabric, leading to unsatisfactory results.
Dull scissors can fray thread and damage fabric.
Using dull scissors or snips often results in uneven cuts. Frayed threads not only look untidy but also reduce the seam's durability. Regularly sharpen your tools to ensure clean and precise cuts.
Avoid using household scissors for sewing projects.
Household scissors are not designed for sewing tasks. They lack the precision needed for cutting threads close to the fabric. Invest in high-quality sewing scissors or thread snips to achieve professional results.
Quick Insight: Label your sewing tools to prevent accidental misuse. This simple step helps maintain their sharpness and effectiveness.
Forgetting to Secure the Thread
Failing to secure the thread ends is a common oversight that can lead to unraveling. Properly securing the thread ensures your seams remain intact, even with frequent use or washing.
Always backstitch or lockstitch to secure the seam.
Backstitching or using a lockstitch at the beginning and end of your seam locks the thread in place. This technique prevents the thread from loosening over time. Most sewing machines have these functions, so make sure to use them for added durability.
Unsecured threads can lead to unraveling over time.
Loose threads are more likely to unravel, especially in high-stress areas like garment seams or bag handles. Taking the time to secure the thread ends ensures your project withstands wear and tear.
Did You Know? Properly seating the thread in the tension discs of your sewing machine also contributes to even stitches, making it easier to secure the thread ends effectively.
By avoiding these common mistakes, you can elevate the quality of your sewing projects. Paying attention to details like thread length, tool sharpness, and securing techniques ensures your work looks professional and lasts longer.
Cutting thread after sewing machine stitches plays a vital role in achieving a polished and professional finish. By using the right tools and following the step-by-step guide, you ensure your sewing projects remain neat and durable. Regular practice helps you refine your technique and build confidence. Always choose high-quality thread to avoid fraying and maintain seam strength. Understanding how to cut thread after sewing machine use not only enhances the appearance of your work but also improves its longevity. With consistent effort, you can master this essential sewing skill.
FAQ
What tools work best for cutting thread after sewing machine stitches?
Sharp fabric scissors and thread snips are the most effective tools for cutting thread.
Tip: Keep your tools sharp and dedicated to sewing tasks to maintain their effectiveness.
How close should you cut the thread to the fabric?
You should leave a small tail of about 1/8 inch when cutting thread. This tiny allowance prevents the thread from slipping through the stitches and unraveling. Cutting too close to the fabric risks weakening the seam.
Why is it important to secure thread ends after sewing?
Securing thread ends ensures the durability of your seams. Unsecured threads can unravel over time, especially in high-stress areas. Techniques like backstitching or tying a knot at the thread ends help lock the stitches in place.
Can you use household scissors for cutting thread?
Household scissors are not ideal for cutting thread. They lack the precision needed for sewing tasks and can fray the thread or damage the fabric. Invest in high-quality sewing scissors or thread snips for better results.
How do you prevent fraying when cutting thread?
Using high-quality thread reduces the risk of fraying. Additionally, sharp tools ensure clean cuts that minimize frayed edges. For extra security, you can apply a small dab of fabric glue to the thread ends.
What should you do if the thread keeps unraveling after cutting?
If the thread unravels, try leaving a slightly longer tail when cutting. You can also tie a small knot at the thread ends or use a backstitch to secure the seam. For added durability, consider sealing the thread ends with fabric glue.
How often should you sharpen your sewing tools?
You should sharpen your sewing tools regularly to maintain their performance. Dull blades can fray thread and damage fabric. Use a sharpening stone or consult a professional to keep your scissors and snips in top condition.
What is the best way to practice cutting thread?
Practice on scrap fabric to refine your technique. Experiment with different tools and methods to find what works best for you. This helps you gain confidence and ensures better results on your main projects.
Can rotary cutters be used for cutting thread?
Rotary cutters are primarily designed for cutting fabric but can be used for trimming threads in specific situations. They work best on flat surfaces and are ideal for projects requiring straight, clean cuts.
How does thread quality affect cutting and sewing?
High-quality thread enhances seam strength and reduces fraying. It also makes cutting easier and more precise. Inferior thread may weaken seams and create uneven cuts, impacting the overall appearance and durability of your project.
Did You Know? Strong, uniform thread contributes to better sewing results and ensures your projects last longer.
See Also
Simple Techniques for Cutting Thread on Sewing Machines
Utilizing Die Cuts Without Any Machinery Involved
Methods for Die Cutting Without Using a Machine
Beginner's Guide to Understanding Die Cutting Machines
Comprehensive Instructions for Operating Hair Cutting Machines