Steps to Cut Hair at Home Using a Machine

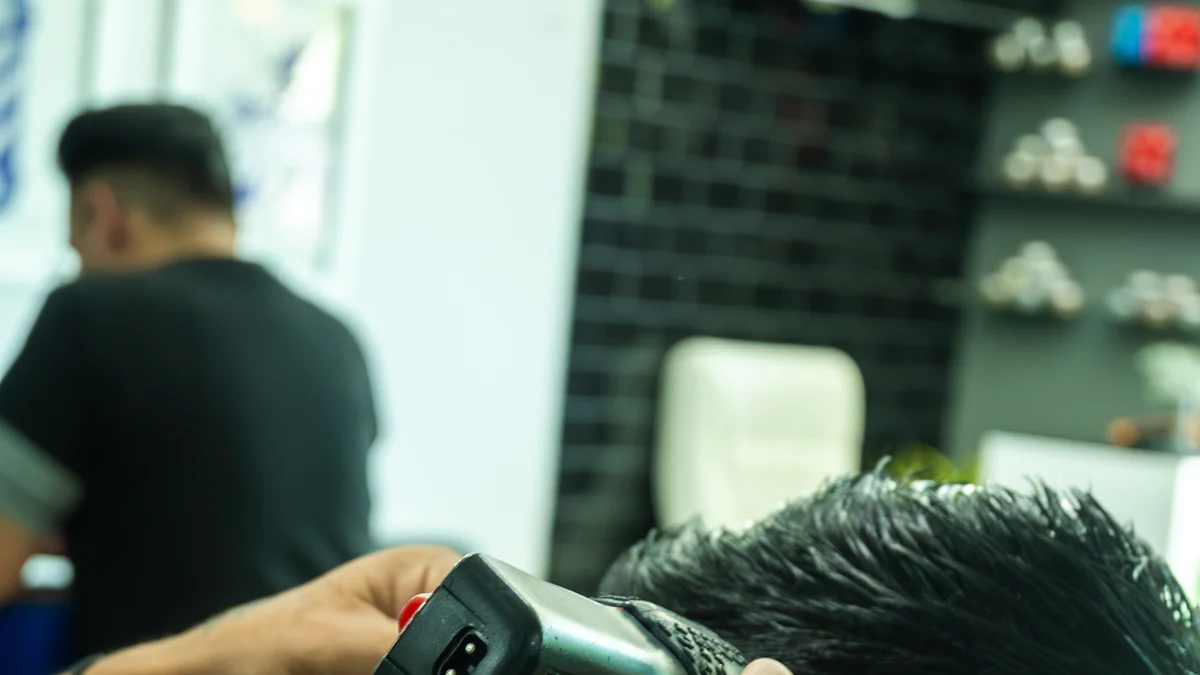
Cutting your hair at home offers a mix of convenience and savings. You no longer need to spend $35 to $60 on every salon visit. Instead, you can invest in a quality clipper and learn how to cut hair machine-style, handling the job yourself. Beyond saving money, it’s satisfying to take control of your look. With a little practice, you’ll feel like your own stylist. Using a machine makes the process simple and efficient, even for beginners. Don’t worry about perfection right away—every haircut gets better as you gain confidence.
Key Takeaways
- Invest in quality tools, like adjustable hair clippers, combs, and scissors to ensure a smooth and professional-looking haircut.
- Prepare your hair by washing and drying it thoroughly to avoid uneven cuts; clean hair is easier to manage.
- Set up a well-lit workspace with mirrors for visibility, allowing you to check your progress from all angles.
- Start cutting with a lower guard number on the sides and gradually blend into higher numbers for the top to create a seamless look.
- Take your time and work in small sections to maintain control and achieve a balanced haircut.
- Finish with outlining and trimming around the hairline and neckline for a polished appearance.
- Practice regularly and don’t be afraid of mistakes; each attempt builds your confidence and skill.
Tools Needed for How to Cut Hair Machine
Before you start cutting your hair at home, having the right tools is essential. The right equipment ensures a smooth process and helps you achieve a professional-looking result. Let’s break down what you’ll need and how to prepare.
Essential Tools
To get started, gather these must-have tools:
-
Hair clippers with adjustable guards: A good clipper is the backbone of any haircut. Look for models like the Wahl Elite Pro High Performance Hair Clipper Kit, which comes with sharp steel blades and 10 guide combs for precise cutting. If you prefer something lightweight and easy to handle, the Remington Virtually Indestructible Haircut and Beard Trimmer is a great option with its rubberized grip and quiet motor.
-
Comb for sectioning and guiding the hair: A simple comb helps you manage your hair while cutting. It’s especially useful for creating clean sections and ensuring even cuts.
-
Scissors for detailing and trimming: While clippers handle most of the work, scissors are perfect for fine-tuning. Sets like the Himart Professional Home Haircutting Set include both straight and textured shears, giving you flexibility for detailing.
-
Handheld and wall-mounted mirrors for visibility: Mirrors are crucial for seeing all angles of your head, especially the back. A handheld mirror paired with a wall-mounted one makes it easier to check your progress.
-
Cape or towel to keep the area clean: A cape or towel protects your clothes and keeps hair clippings from scattering everywhere. It also makes cleanup much simpler.
Preparing the Clippers
Properly preparing your clippers ensures they work efficiently and last longer. Follow these steps before you begin:
Importance of oiling the clippers before use
Oiling your clippers is a small but vital step. Apply a few drops of clipper oil to the blades to reduce friction and prevent pulling on your hair. This keeps the blades sharp and ensures a smoother cut.
Ensuring the clippers are charged or plugged in
Make sure your clippers are ready to go. If you’re using a cordless model like the Philips Norelco QC5580/40, check that it’s fully charged. For corded clippers, ensure the cord is long enough to move around comfortably. The Remington Virtually Indestructible Haircut and Beard Trimmer comes with an 8-foot cord, giving you plenty of room to maneuver.
By gathering the right tools and preparing them properly, you set yourself up for success. Whether you’re a beginner or have some experience, these essentials make learning how to cut hair machine-style much easier.
Preparation for Cutting Hair at Home
Getting ready to cut your hair at home is just as important as the actual cutting process. Proper preparation ensures a smoother experience and helps you achieve the best results. Let’s dive into how you can prepare both your hair and your workspace.
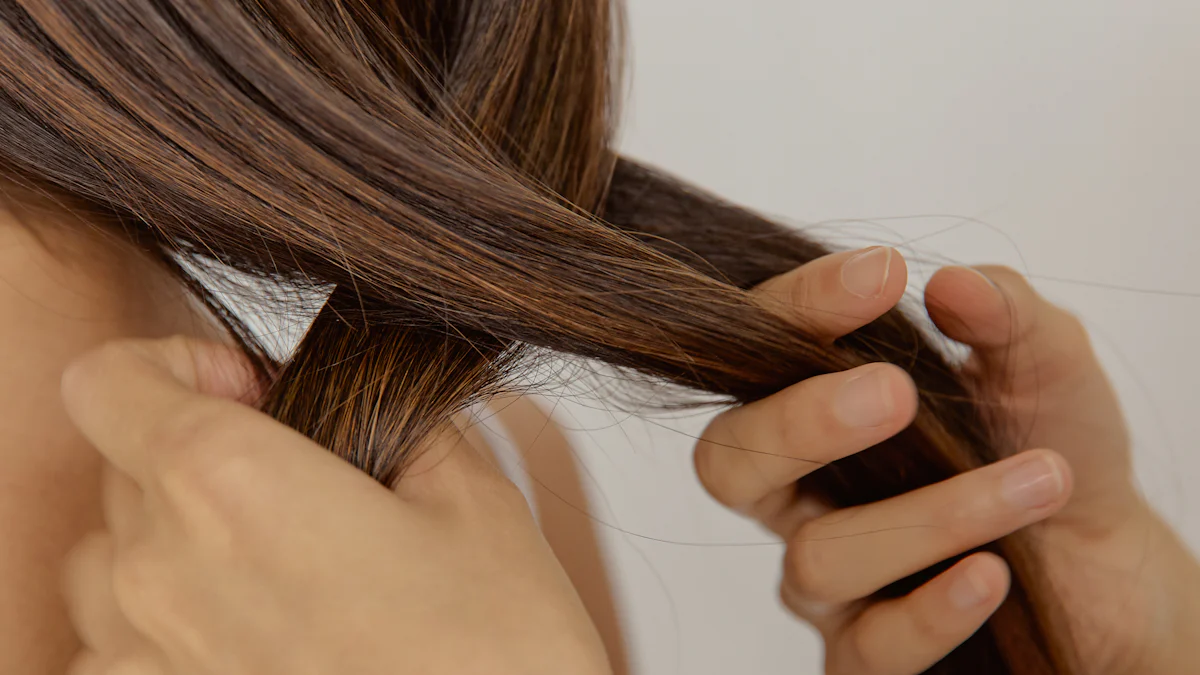
Preparing the Hair
Before you start, make sure your hair is clean and easy to work with. Skipping this step can lead to uneven cuts or frustration during the process.
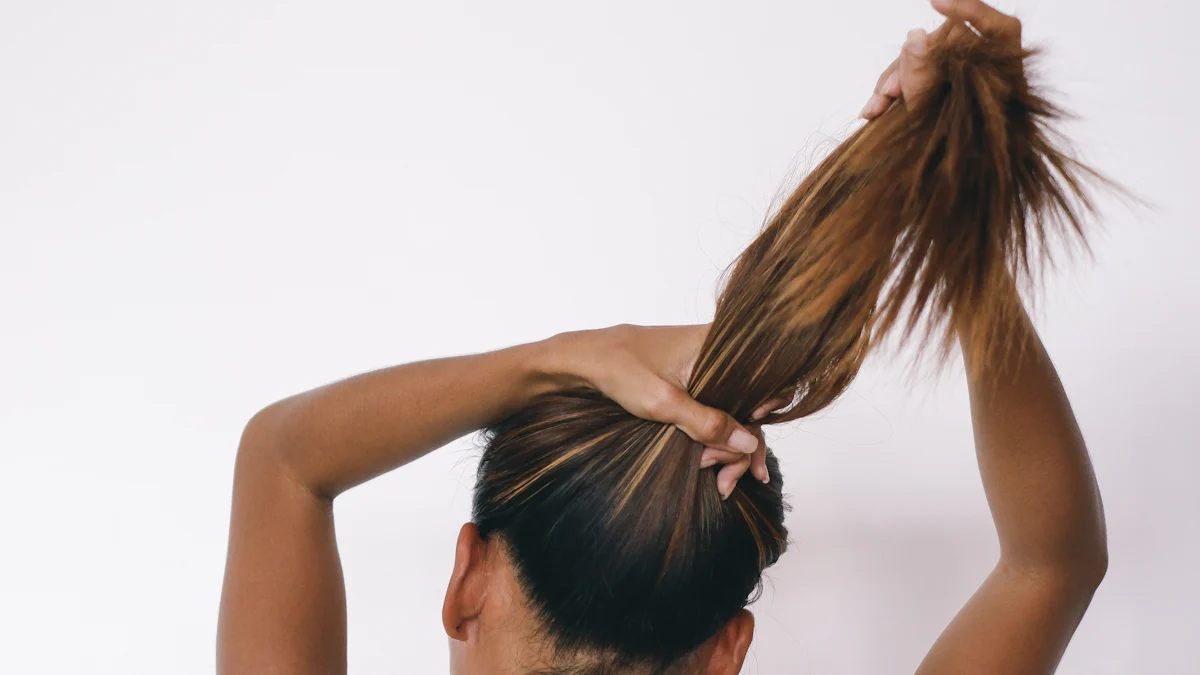
Wash and dry the hair to remove dirt and tangles.
Start by washing your hair thoroughly. Clean hair is easier to cut because it doesn’t have oils or dirt weighing it down. Use your regular shampoo and conditioner to leave it soft and manageable. After washing, dry your hair completely. Wet hair can stick to your clippers, making it harder to achieve an even cut.
Pro Tip: If your hair tends to tangle, use a detangling spray or conditioner before drying. This makes combing much easier.
Comb the hair to ensure it’s smooth and manageable.
Once your hair is dry, grab a comb and gently work through it. Focus on removing any knots or tangles. Smooth, untangled hair allows the clippers to glide effortlessly, giving you a more polished result. A wide-tooth comb works well for thicker hair, while a fine-tooth comb is ideal for thinner hair.
Setting Up the Workspace
Creating the right environment for your haircut is key. A well-organized and clean workspace helps you stay focused and reduces stress.
Choose a well-lit area with access to mirrors.
Pick a spot in your home with plenty of light. Natural light works best, but a bright lamp can also do the trick. Good lighting helps you see every detail, ensuring you don’t miss any spots. Place a wall-mounted mirror in front of you and keep a handheld mirror nearby. This setup lets you check all angles, especially the back of your head.
Lay down a towel or mat to catch hair clippings.
Hair clippings can get messy fast. Lay a towel or mat on the floor to catch them as you cut. This makes cleanup much easier and keeps your space tidy. If you’re cutting your hair in the bathroom, consider using a nonslip mat to avoid accidents.
Organize tools for easy access.
Before you begin, arrange all your tools within arm’s reach. Place your clippers, comb, scissors, and any other essentials on a countertop or table. Having everything ready prevents interruptions and keeps the process smooth. Remember, investing in tools you enjoy using makes the experience more enjoyable and reduces the chance of mistakes.
Why It Matters: Cutting your own hair gives you control over your style and schedule. By preparing properly, you set yourself up for success and avoid unnecessary stress.
With your hair prepped and your workspace ready, you’re now set to start learning how to cut hair machine-style. Taking these steps ensures a hassle-free experience and helps you achieve a professional-looking result.
Step-by-Step Guide for How to Cut Hair Machine
Now that you’ve prepared your tools and workspace, it’s time to dive into the actual haircut. Follow this step-by-step guide to achieve a clean, polished look. Whether you’re going for a simple trim or a more styled cut, these instructions will help you get started.
Cutting the Sides
The sides are usually the easiest place to begin. Starting here helps you build confidence before moving on to trickier areas.
Start with a lower guard number for shorter sides.
Attach a lower guard number to your clippers, such as a #2 or #3, depending on how short you want the sides. Lower guard numbers cut closer to the scalp, giving you that neat, tapered look. If you’re unsure, start with a higher guard and work your way down.
Pro Tip: Keep the clippers flat against your head to avoid uneven patches.
Move the clippers upward in smooth, even strokes.
Begin at the bottom of your sideburns and move the clippers upward toward the top of your ears. Use steady, even strokes to ensure a consistent cut. Avoid rushing—taking your time here makes blending easier later.
Blend the sides into the top using a higher guard number.
Switch to a higher guard number, like a #4 or #5, to blend the sides into the top. This creates a gradual transition between the shorter sides and the longer hair on top. Work in small sections and check your progress in the mirror frequently.
Expert Insight: According to professional hairstylists, keeping the sides short and clean complements most face shapes, especially oblong and oval ones. This technique highlights your features while maintaining a balanced look.
Cutting the Back
The back of your head can be tricky, but with the right approach, you’ll get it right. A handheld mirror is your best friend here.
Use a handheld mirror to see the back of your head.
Hold a handheld mirror in one hand and position it so you can see the back of your head in your wall-mounted mirror. This setup gives you a clear view of what you’re doing. Adjust the angle as needed to avoid missing any spots.
Follow the same upward motion as the sides.
Start at the nape of your neck and move the clippers upward in smooth strokes. Use the same guard number you used for the sides to maintain consistency. Keep the clippers steady and avoid pressing too hard.
Blend the back into the top for a seamless look.
Switch to a higher guard number to blend the back into the top. Work slowly and focus on creating a smooth transition. Check your progress frequently using the mirrors to ensure an even cut.
Pro Tip: If you’re struggling to see certain areas, ask a family member or friend to help. A second pair of eyes can make a big difference.
Cutting the Top
The top of your hair allows for more creativity. You can keep it longer for styling or trim it shorter for a low-maintenance look.
Use a higher guard number for longer hair on top.
Attach a higher guard number, such as a #6 or #7, to your clippers. This ensures the top remains longer than the sides and back. If you’re aiming for a more dramatic style, you can go even higher or use scissors for added precision.
Comb the hair forward and cut against the grain for an even result.
Use a comb to guide your hair forward. Cutting against the grain (the direction your hair naturally grows) helps you achieve an even length. Work in small sections and take your time to avoid cutting too much at once.
Adjust the guard length for any desired styling.
If you want to add texture or layers, switch to a shorter guard number and focus on specific areas. For example, you can use a #4 guard to create a slight fade near the crown. Experiment with different lengths until you’re happy with the result.
Styling Tip: Leaving the top slightly longer gives you the flexibility to style it in various ways, like combing it back or adding volume with a blow dryer.
By following these steps, you’ll learn how to cut hair machine-style with confidence. Each section builds on the last, helping you create a balanced and professional-looking haircut.
Blending and Tapering
Blending and tapering are the finishing touches that bring your haircut together. These steps ensure a seamless transition between different lengths, giving your hair a polished and professional look. With a little patience and the right technique, you can master this part of the process.
Use an intermediate guard number to blend the sides, back, and top.
Start by attaching an intermediate guard number to your clippers, such as a #3 or #4. This guard length works perfectly to bridge the gap between the shorter sides and the longer top. Begin at the point where the sides meet the top of your head. Move the clippers in upward strokes, keeping them flat against your scalp. Work slowly and focus on small sections to maintain control.
Pro Tip: Use a comb to lift the hair slightly as you blend. This helps you avoid cutting too much and ensures a smoother transition.
Blending the back follows the same principle. Use a handheld mirror to check your progress frequently. Adjust the angle of the clippers as needed to match the natural curve of your head. If you’re unsure about the length, start with a higher guard and gradually switch to a lower one until you achieve the desired blend.
Focus on creating a smooth transition between different lengths.
The key to a great haircut lies in the transitions. To create a smooth flow between the sides, back, and top, use a technique called "flicking out." As you move the clippers upward, flick your wrist outward slightly at the end of each stroke. This motion softens the line between lengths and prevents harsh edges.
Expert Insight: According to Professional Hairstylists, blending the sides short and leaving the top longer works especially well for oblong and oval face shapes. This style highlights your features while maintaining balance.
Pay extra attention to areas where the lengths meet, like the crown of your head. These spots often require more blending to look natural. Switch to a shorter guard if needed to refine the taper. Take your time and check your work in the mirror from multiple angles.
Why It Matters: A well-blended haircut not only looks better but also grows out more evenly. This means you can go longer between trims without your hair looking unkempt.
Blending and tapering might seem tricky at first, but practice makes perfect. By focusing on smooth transitions and using the right tools, you’ll elevate your haircut from basic to barbershop-quality.
Finishing Touches for a Polished Look
Once you’ve completed the main haircut, it’s time to refine the details. These finishing touches ensure your haircut looks clean, professional, and well-executed. Let’s focus on outlining, trimming, and cleaning up.
Outlining and Trimming
Outlining and trimming add sharpness to your haircut. These steps define your hairline and remove stray hairs for a polished appearance.
Use the clipper without a guard to outline the hairline.
Remove the guard from your clippers to create precise lines. Start at your forehead and carefully outline your hairline. Keep the clippers steady and follow the natural shape of your hairline. For a sharper look, slightly angle the clippers as you move along the edges.
Pro Tip: Use short, controlled strokes to avoid cutting too much. If you’re unsure, start with a light outline and refine it gradually.
Trim around the ears and neckline for a clean finish.
Switch to trimming the areas around your ears and neckline. Hold the clippers at an angle to follow the curve of your ears. For the neckline, use a handheld mirror to guide you. Trim in small sections to maintain control and symmetry. A clean neckline enhances the overall look and makes your haircut appear more professional.
Why It Matters: Outlining and trimming frame your face and give your haircut a crisp, finished look. These small details make a big difference in the final result.
Cleaning Up
Cleaning up ensures your haircut looks even and keeps your tools in top condition for future use.
Brush off loose hair and inspect for any uneven spots.
Use a soft brush or your hands to remove loose hair from your head and shoulders. Check your haircut in the mirror from different angles. Look for uneven spots or stray hairs that need attention. If you find any, use your clippers or scissors to fix them.
Expert Insight: According to hairstyling professionals, inspecting your haircut under good lighting helps you spot imperfections more easily. This step ensures a balanced and polished finish.
Clean the clippers and tools after use.
After finishing your haircut, clean your tools thoroughly. Remove any hair stuck in the clipper blades. Use a small brush or a damp cloth to wipe them down. Apply a few drops of clipper oil to the blades to maintain their sharpness and performance. Proper maintenance extends the life of your tools and ensures they’re ready for your next haircut.
Quick Tip: Store your clippers and accessories in a dry, safe place to prevent damage or rust.
By focusing on these finishing touches, you elevate your haircut from good to great. Outlining, trimming, and cleaning up not only enhance your look but also prepare you for future haircuts. Take your time with these steps, and you’ll walk away with a polished, confident style.
Recap and Tips for Success
Recap of the Process
Cutting your hair at home with a machine might seem intimidating at first, but breaking it down into clear steps makes it manageable. Let’s quickly revisit the key parts of the process:
-
Gather Your Tools: Start with the essentials like clippers, combs, scissors, mirrors, and a cape or towel. Make sure your clippers are oiled and ready to go. This preparation ensures smooth operation and a clean cut.
-
Prepare Your Hair and Workspace: Wash and dry your hair to remove dirt and tangles. Comb it thoroughly to make it manageable. Set up in a well-lit area with mirrors and organize your tools for easy access.
-
Follow the Step-by-Step Cutting Guide:
- Begin with the sides using a lower guard number.
- Move to the back, using mirrors to guide you.
- Trim the top with a higher guard number for longer hair.
- Blend and taper for smooth transitions between lengths.
-
Add Finishing Touches: Outline your hairline, trim around the ears and neckline, and inspect for any uneven spots. Clean your tools after use to keep them in top condition.
By following these steps, you can achieve a polished haircut that looks professional and grows out evenly.
Additional Tips
To make your at-home haircut experience even better, here are some extra tips to keep in mind:
Start with a higher guard number if unsure about the length.
When in doubt, always begin with a higher guard number. This approach leaves more hair and gives you room to adjust. You can always go shorter, but you can’t undo a cut that’s too short. For example, starting with a #5 guard allows you to test the length before committing to a closer cut.
Pro Tip: If you’re experimenting with a new style, take it slow. Gradual adjustments help you avoid mistakes.
Take your time and work in small sections.
Rushing through a haircut often leads to uneven results. Focus on one section at a time, whether it’s the sides, back, or top. Use smooth, steady strokes with the clippers and check your progress frequently in the mirror. This method ensures consistency and reduces the chance of errors.
Why It Matters: Working in small sections gives you more control and helps you achieve a balanced look.
Practice on less visible areas first to build confidence.
If you’re new to cutting your own hair, start with areas that are less noticeable, like the back or lower sides. This practice helps you get comfortable with the clippers and understand how they work. Once you feel confident, move on to more visible areas like the top and front.
Expert Insight: Many professionals recommend practicing on a small patch before tackling the entire haircut. This approach minimizes stress and builds your skills over time.
Maintain your tools for long-term success.
Clean and oil your clippers regularly to keep them performing at their best. After each haircut, wipe away loose hairs with a stiff bristle brush and apply a few drops of clipper oil to the blades. Let the oil travel across the blades while the clippers run, then tip them downward to remove excess oil. Avoid using non-food-safe lubricants like WD-40, as they can irritate your skin.
Quick Tip: Disinfect your blades at least twice a month if they come into contact with your skin. This habit keeps your tools hygienic and extends their lifespan.
By following these tips, you’ll not only improve your haircutting skills but also enjoy the process. Remember, practice makes perfect, and every haircut is a step toward mastering this valuable skill.
Cutting your own hair at home might feel intimidating at first, but practice makes all the difference. Mistakes are part of the learning process, so don’t be too hard on yourself. Each attempt helps you improve and gain confidence. Mastering this skill saves you time and money while giving you full control over your style. You can experiment with different lengths, fades, or even bold new looks. Embrace the journey, and soon, you’ll enjoy the satisfaction of creating a haircut that’s uniquely yours. Why not start today?
FAQ
How do I choose the right clipper for home haircuts?
Selecting the right clipper depends on your needs and preferences. Look for clippers with adjustable guards, sharp blades, and a comfortable grip. Models like the Wahl Elite Pro or Remington Virtually Indestructible Haircut and Beard Trimmer are excellent choices. If you’re a beginner, prioritize ease of use and durability. Cordless options offer flexibility, while corded ones provide consistent power.
Pro Tip: Read reviews and consider investing in a quality clipper. A good tool makes the process smoother and more enjoyable.
Can I cut my own hair if I’ve never done it before?
Absolutely! Cutting your own hair might feel intimidating at first, but it’s a skill anyone can learn with practice. Start with simple styles and use higher guard numbers to avoid cutting too much. Take your time, work in small sections, and check your progress often. Mistakes happen, but they’re part of the learning process.
Why It Matters: Mastering this skill gives you control over your look and saves you money in the long run.
How do I avoid uneven cuts?
Uneven cuts usually happen when you rush or don’t check your progress. To prevent this, use smooth, steady strokes with the clippers. Always keep the guard flat against your scalp. Work in well-lit areas and use mirrors to see all angles. Blending with intermediate guard numbers helps create a seamless transition between lengths.
Expert Insight: Focus on one section at a time. This method ensures consistency and reduces errors.
What’s the best way to blend the sides and top?
Blending creates a polished, professional look. Use an intermediate guard number to bridge the gap between the shorter sides and longer top. Move the clippers upward in a flicking motion to soften the transition. A comb can help lift the hair slightly for better control. Check your work frequently to ensure a smooth blend.
Pro Tip: Practice blending on less visible areas first, like the back, to build confidence.
Should I cut my hair wet or dry?
Dry hair is easier to manage when using clippers. Wet hair can stick to the blades, making it harder to achieve an even cut. Wash and dry your hair thoroughly before starting. Clean, dry hair allows the clippers to glide smoothly and gives you better control.
Quick Tip: If your hair tangles easily, use a detangling spray before drying.
How do I clean and maintain my clippers?
Proper maintenance keeps your clippers in top condition. After each use, brush off loose hair and wipe the blades with a damp cloth. Apply a few drops of clipper oil to the blades to reduce friction and maintain sharpness. Store your clippers in a dry, safe place to prevent rust or damage.
Why It Matters: Well-maintained tools last longer and deliver better results.
Can I achieve professional results at home?
Yes, with the right tools and techniques, you can achieve a polished look. Follow a step-by-step guide, take your time, and focus on details like blending and outlining. While it might take a few tries to perfect your skills, each haircut will improve as you gain confidence.
Philosophical Insight: Cutting your own hair is not just about saving money. It’s a form of self-reliance and personal empowerment.
What if I make a mistake?
Mistakes are normal, especially when you’re starting out. If you cut too short, remember that hair grows back. Use a higher guard number next time to avoid cutting too much. You can also visit a professional to fix any major errors. Over time, you’ll learn from these experiences and improve.
Encouragement: Every mistake is a step toward mastering this valuable skill. Don’t let fear hold you back.
How often should I cut my hair at home?
The frequency depends on your hair growth and preferred style. For shorter cuts, trim every 2–4 weeks to maintain the shape. Longer styles can go 4–6 weeks between cuts. Regular trims keep your hair looking neat and prevent split ends.
Quick Tip: Set a reminder on your calendar to stay consistent with your haircuts.
Is cutting my own hair relaxing?
Many people find cutting their own hair meditative. The process requires focus and mindfulness, which can help you relax and disconnect from daily stress. It’s also a creative outlet that allows you to experiment with different styles.
Philosophical Insight: DIY haircuts offer more than just convenience. They provide a sense of control, creativity, and personal satisfaction.
See Also
Comprehensive Instructions for Operating a Hair Clipper
Reviewing the Top Hair Clipper: Wahl Magic Clip
Essential Advice for Operating a Meat Slicer