Step-by-Step Guide to Cut an Angle on a Milling Machine

Cutting an angle on a milling machine is a fundamental skill in machining, particularly when learning how to cut an angle on a milling machine. It involves shaping a workpiece at a specific angle, which is essential for creating precise components in industries like automotive and aerospace. This process allows you to achieve complex geometries that straight cuts cannot provide. Precision plays a critical role here. Proper preparation, including accurate machine setup and tool selection, ensures the final product meets exact specifications. By mastering this technique, you can enhance the quality and functionality of your projects while minimizing errors.
Key Takeaways
- Mastering angle cutting on a milling machine enhances precision and quality in your projects, crucial for industries like automotive and aerospace. Proper preparation is essential: choose the right materials, maintain your machine, and ensure accurate alignment to achieve flawless cuts. Utilize essential tools like angle plates, end mills, and protractors to secure your workpiece and measure angles accurately.
- Regularly check your progress during cutting to maintain accuracy and make adjustments as needed, preventing costly mistakes.
- Prioritize safety by wearing appropriate PPE, maintaining your machine, and using guards to protect against flying debris.
- Troubleshoot common issues like inaccurate angles or poor surface finishes by verifying alignment, using sharp tools, and applying cutting fluid.
- Practice regularly to refine your skills and build confidence in your ability to cut angles with precision.
Tools and Equipment for Cutting an Angle on a Milling Machine
To achieve precise results when cutting an angle on a milling machine, you need the right tools and equipment. Each tool plays a specific role in ensuring accuracy and efficiency during the machining process. Below is a breakdown of essential tools and optional accessories that can enhance your workflow.
Essential Tools
Milling Machine
The milling machine serves as the foundation for your work. It provides the power and stability needed to cut angles accurately. A well-maintained machine ensures consistent performance and reduces the risk of errors.
Angle Plate or Tilting Vise
An angle plate or tilting vise holds the workpiece securely at the desired angle. These tools are critical for maintaining stability during the cutting process. High-quality vises minimize deflection and vibration, which improves precision.
End Mills or Angle Milling Cutters
End mills and angle milling cutters are the primary cutting tools for this task. Angle milling cutters come in two types: single-angle and double-angle. Single-angle cutters are ideal for simple cuts, while double-angle cutters handle more complex geometries. Choose the cutter type based on your project requirements.
Protractor or Angle Gauge
A protractor or angle gauge helps you measure and set the exact angle for your cut. These tools ensure that your setup aligns perfectly with the desired specifications.
Clamps and Fixtures
Clamps and fixtures secure the workpiece to the milling machine. Proper clamping prevents movement during cutting, which is essential for achieving accurate results. Use multiple clamps if necessary to enhance stability.
Optional Accessories
Digital Readout (DRO) for Precision
A digital readout (DRO) provides precise measurements of the machine's movements. This accessory helps you monitor the position of the cutting tool, ensuring that each pass aligns with the intended angle.
Edge Finder for Alignment
An edge finder simplifies the alignment process by locating the edges of the workpiece. This tool improves accuracy when positioning the workpiece on the milling machine.
Coolant or Cutting Fluid
Using coolant or cutting fluid reduces heat buildup during the cutting process. This not only extends the life of your cutting tools but also improves the surface finish of the workpiece.
"Multi-axis machining and angular cutting operations cannot be done without rotary tables." While not always necessary, a rotary table can further enhance your ability to cut complex angles and patterns.
By equipping yourself with these tools and accessories, you can master how to cut an angle on a milling machine with precision and confidence. The right setup ensures smoother operations and better results.
Preparation for Cutting an Angle on a Milling Machine
Proper preparation is the foundation of success when learning how to cut an angle on a milling machine. By carefully selecting materials, setting up your machine, and aligning your tools, you can ensure precision and efficiency in your work. Follow these steps to prepare effectively.
Material Selection
Choosing the right material is crucial for achieving accurate results. Start by evaluating the requirements of your project.
- Choose the appropriate material for the project. Select a material that matches the specifications of your design. For example, aluminum is ideal for lightweight components, while steel offers durability for heavy-duty applications.
- Ensure the material is free of defects or irregularities. Inspect the workpiece for cracks, warping, or surface imperfections. These flaws can compromise the quality of your cut and lead to inaccuracies.
"A flawless material ensures a flawless result." This principle is echoed by experienced cutting and slicing machine operators who emphasize the importance of defect-free materials in machining.
Machine Setup
A clean and well-maintained milling machine is essential for precise angle cutting. Take the time to prepare your equipment thoroughly.
- Clean and inspect the milling machine. Remove debris, oil, or residue from the machine's surfaces. Check for any signs of wear or damage that could affect performance.
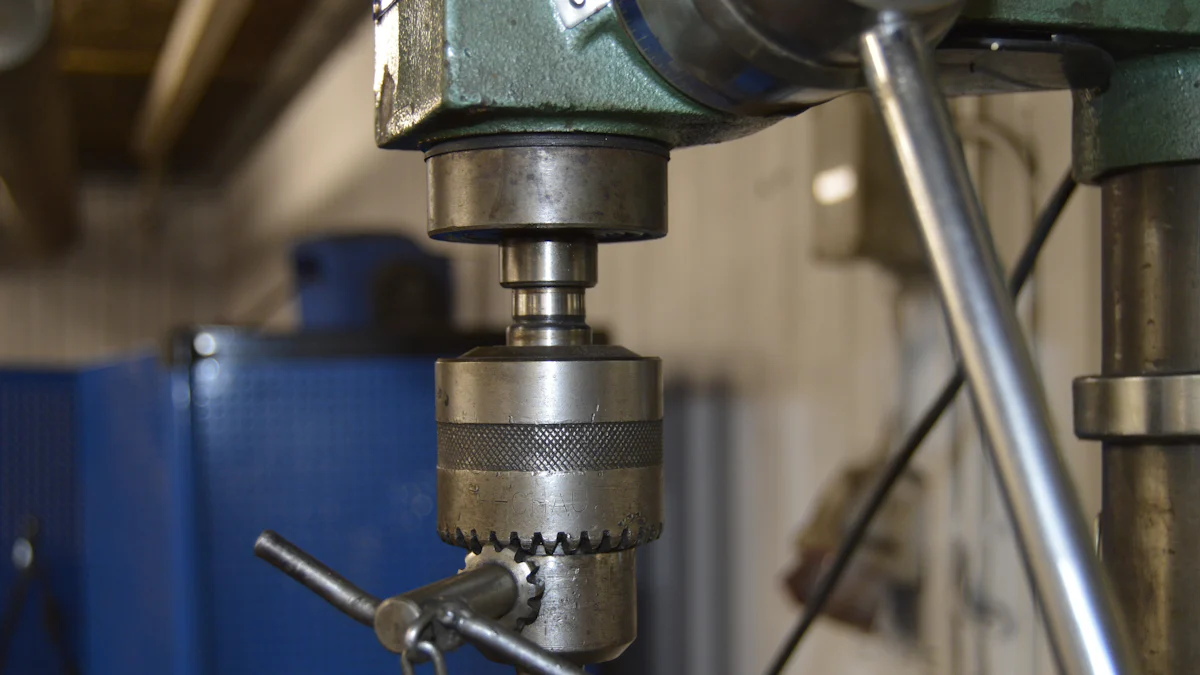
- Install the appropriate cutting tool. Choose a tool that suits the material and angle you plan to cut. For instance, use an angle milling cutter for complex geometries or an end mill for simpler cuts.
- Secure the workpiece using clamps, a vise, or an angle plate. Ensure the workpiece is stable and firmly held in place. A loose setup can lead to movement during cutting, resulting in errors.
"Stability is key to precision," as noted by operators who stress the importance of securing the workpiece to avoid misalignment.
Alignment and Calibration
Accurate alignment and calibration are vital for achieving the desired angle. Use precise measuring tools and take your time to set everything correctly.
- Use a protractor or angle gauge to set the desired angle. Position the tool carefully to match the specifications of your project. Double-check the reading to avoid mistakes.
- Verify alignment with the machine's spindle and table. Align the workpiece with the spindle to ensure the cutting tool follows the intended path. Misalignment can lead to uneven cuts or incorrect angles.
- Perform a test run to ensure accuracy. Before making the final cut, conduct a trial pass on a scrap piece of material. This step allows you to confirm the setup and make adjustments if needed.
"Preparation saves time and prevents errors," a mantra shared by skilled machinists who understand the value of meticulous setup and alignment.
By following these preparation steps, you can confidently approach the process of cutting an angle on a milling machine. Proper material selection, machine setup, and alignment will set you up for success and help you achieve precise, high-quality results.
How to Cut an Angle on a Milling Machine: Step-by-Step Process
Step 1: Secure the Workpiece
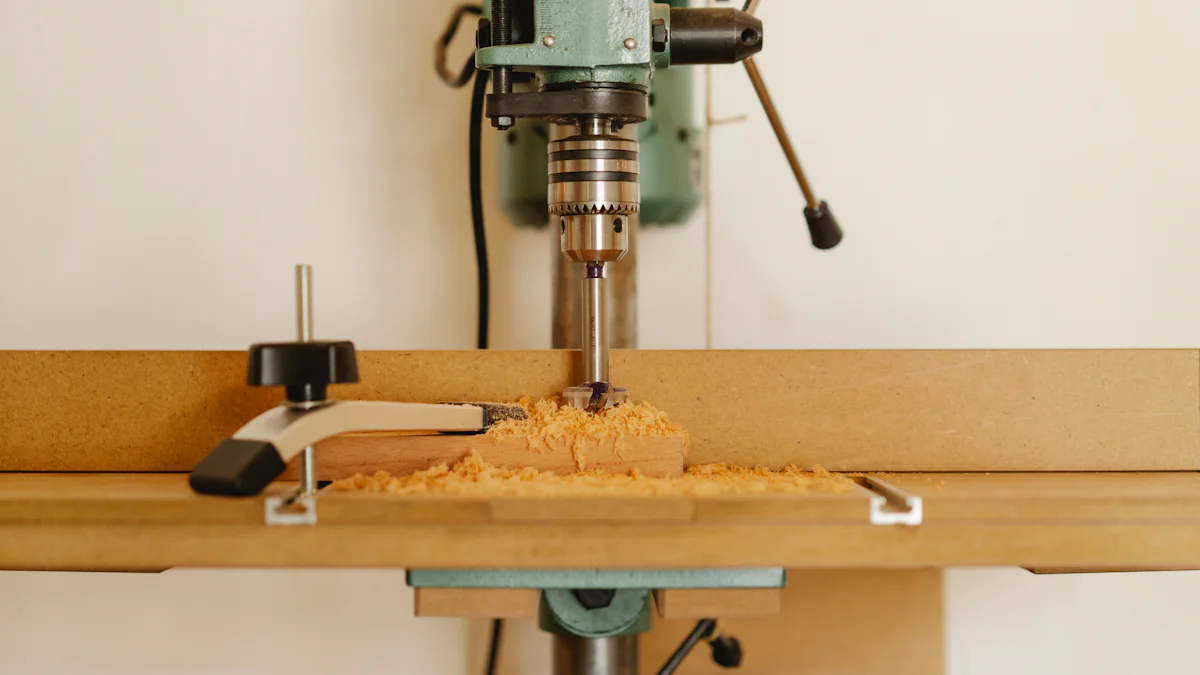
Start by securing the workpiece firmly. Use clamps, a tilting vise, or an angle plate to hold it in place. Each of these tools provides stability, which is essential for achieving precise cuts. Ensure the workpiece does not shift during the process. Movement can lead to inaccuracies and uneven angles.
Double-check the setup before proceeding. Inspect the clamps or vise to confirm they are tightened properly. A stable workpiece ensures the cutting tool follows the intended path without deviation. This step lays the foundation for a successful cut.
"Making an angled cut is not always easy and requires expert precision," as noted by machining professionals. Properly securing the workpiece is the first step toward achieving that precision.
Step 2: Set the Desired Angle
Adjust the angle plate or tilting vise to match the required angle. Use a protractor or digital readout to measure the angle accurately. These tools help you achieve the exact specifications needed for your project. Precision at this stage ensures the final cut meets your expectations.
Verify the angle setting before moving forward. Recheck the protractor or digital readout to confirm the alignment. Small errors in this step can result in significant deviations in the final product. Taking the time to set the angle correctly saves you from rework later.
"Preparation saves time and prevents errors," a principle shared by experienced machinists. Setting the angle with care ensures a smoother cutting process.
Step 3: Begin Cutting
Start the milling machine and engage the cutting tool. Begin with light passes to avoid overloading the tool. This approach reduces stress on the machine and minimizes the risk of damaging the workpiece. Gradual cutting also helps maintain the accuracy of the angle.
Monitor the cutting process closely. Pay attention to the tool's performance and the material's response. Adjust the feed rate if necessary to ensure smooth operation. Consistent monitoring allows you to address issues immediately, preventing costly mistakes.
"How to cut an angle on a milling machine effectively depends on careful execution," as emphasized by experts. Starting with light passes ensures better control and precision.
By following these steps, you can master how to cut an angle on a milling machine with confidence. Each step builds upon the previous one, ensuring a seamless and accurate cutting process.
Step 4: Check Progress
Regularly checking your progress ensures that the angle remains accurate throughout the cutting process. Pause the milling machine periodically and measure the angle using a protractor or angle gauge. This step helps you confirm that the cut aligns with your desired specifications. Precision at this stage prevents errors from accumulating, which could compromise the final result.
If you notice any deviations, adjust the setup immediately. Recheck the alignment of the workpiece and the cutting tool. Tighten any loose clamps or fixtures to restore stability. Small corrections during the process save you from redoing the entire cut. As machining experts often say, "Making an angled cut requires expert precision." Taking the time to verify your progress ensures that your work meets professional standards.
Step 5: Finishing the Cut
The final pass is crucial for achieving a smooth and polished finish. Complete the cut by running the milling machine at a steady pace. Avoid rushing this step, as uneven movements can affect the surface quality. Use light passes to refine the angle and remove any remaining material. This approach minimizes tool wear and enhances the overall appearance of the workpiece.
After finishing the cut, deburr the edges to remove sharp or rough areas. Use a deburring tool or fine sandpaper for this task. Inspect the workpiece carefully to ensure it meets your specifications. A thorough inspection guarantees that the angle is precise and the surface is clean. By following these steps, you can master how to cut an angle on a milling machine with confidence and achieve professional-grade results.
Safety Tips for Cutting an Angle on a Milling Machine
Safety should always be your top priority when working with a milling machine. Following proper safety measures not only protects you but also ensures the efficiency and accuracy of your work. Below are essential safety tips to keep in mind.
General Safety Precautions
Wear appropriate personal protective equipment (PPE), such as safety glasses and gloves.
Always wear safety glasses to shield your eyes from flying debris. Gloves can protect your hands from sharp edges and hot surfaces. However, avoid loose-fitting gloves that might get caught in moving parts. Proper PPE minimizes the risk of injuries and keeps you safe during the machining process.
Keep hands and loose clothing away from moving parts.
Maintain a safe distance from the machine's moving components. Loose clothing, jewelry, or long hair can easily get entangled, leading to severe accidents. Tuck in your shirt, remove accessories, and tie back long hair before starting the machine. Staying vigilant around moving parts ensures your safety.
"Safety is not just a practice; it’s a habit," as experienced machinists often say. Adopting these habits can prevent accidents and create a safer workspace.
Machine-Specific Safety
Ensure the milling machine is properly maintained and free of defects.
Inspect the milling machine regularly for signs of wear or damage. A well-maintained machine operates smoothly and reduces the likelihood of malfunctions. Check for loose bolts, worn-out belts, or damaged cutting tools. Addressing these issues promptly ensures the machine performs reliably.
Use guards and shields to protect against flying debris.
Install guards and shields on the milling machine to block chips and debris from reaching you. These protective barriers act as a first line of defense, keeping you safe from potential hazards. Always verify that the guards are securely in place before starting the machine.
"A safe machine is a productive machine," a principle echoed by professionals who emphasize the importance of regular maintenance and protective measures.
Cutting Safety
Avoid excessive cutting speeds or feed rates.
Operate the milling machine at appropriate speeds and feed rates based on the material and cutting tool. Excessive speeds can cause overheating, tool breakage, or poor surface finishes. Follow the manufacturer’s recommendations to achieve optimal results while maintaining safety.
Use coolant or cutting fluid to prevent overheating.
Apply coolant or cutting fluid during the cutting process to reduce heat buildup. Overheating can damage the cutting tool and compromise the quality of your workpiece. Coolant also helps extend the lifespan of your tools and improves the overall machining process.
"Support your workpiece properly and use high-quality tools," as experts advise. These practices, combined with the use of coolant, ensure clean and precise cuts while minimizing risks.
By following these safety tips, you can create a secure and efficient working environment. Prioritizing safety not only protects you but also enhances the quality of your work. Always remember, a cautious approach leads to better results and a safer machining experience.
Troubleshooting Common Issues When Cutting Angles
Even with careful preparation and execution, challenges can arise when cutting angles on a milling machine. Identifying and addressing these issues promptly ensures your work maintains precision and quality. Below are common problems you might encounter and practical solutions to resolve them.
Inaccurate Angles
Achieving precise angles is critical in machining. If the angles on your workpiece are off, consider these steps:
Check the alignment of the angle plate or tilting vise.
Misalignment often causes inaccurate cuts. Inspect the angle plate or tilting vise to ensure it is properly positioned. Tighten all adjustment screws securely to prevent shifting during the cutting process. Regularly verify the setup before starting the machine.
"Despite extensive training, humans are still prone to making errors," which is why double-checking your alignment is essential for accuracy.
Verify the calibration of measuring tools.
Measuring tools like protractors or angle gauges can lose accuracy over time. Test their calibration against a known standard. Replace or recalibrate tools that show discrepancies. Using reliable tools ensures your measurements remain consistent and precise.
"Preparation saves time and prevents errors," as experienced machinists often say. Properly calibrated tools are a cornerstone of successful machining.
Poor Surface Finish
A rough or uneven surface finish can compromise the quality of your workpiece. Address this issue by focusing on the cutting tool and machining process.
Use a sharper cutting tool or reduce the feed rate.
A dull cutting tool struggles to produce clean cuts. Replace worn tools with sharp ones to improve the surface finish. Additionally, slow down the feed rate to allow the tool to cut more smoothly. This adjustment reduces tool stress and enhances the final appearance of the workpiece.
"Support your workpiece properly and use high-quality tools," as experts advise. Sharp tools and controlled feed rates lead to better results.
Apply cutting fluid to improve the finish.
Cutting fluid reduces friction and heat during machining. Apply it generously to achieve a smoother surface. The fluid also extends the life of your cutting tools by minimizing wear. A well-lubricated cutting process produces cleaner and more polished results.
"A safe machine is a productive machine." Proper maintenance, including the use of cutting fluid, ensures both safety and quality in your work.
Workpiece Movement
Movement during cutting can ruin the accuracy of your angles. Stabilizing the workpiece is crucial for maintaining precision.
Re-secure the workpiece with additional clamps or fixtures.
If the workpiece shifts, add more clamps or fixtures to hold it firmly in place. Inspect the existing clamps for wear or damage and replace them if necessary. A secure setup prevents movement and ensures the cutting tool follows the intended path.
"Stability is key to precision," as noted by skilled operators. A stable workpiece guarantees accurate and consistent cuts.
Ensure the vise or angle plate is tightened properly.
Loose vises or angle plates can cause the workpiece to wobble. Tighten all bolts and screws on these components before starting the machine. Regularly check their stability throughout the cutting process to avoid unexpected shifts.
"Self-operating a milling machine poses a serious risk to safety." A secure setup not only improves accuracy but also minimizes the risk of accidents.
By addressing these common issues, you can enhance the quality of your work and achieve professional-grade results. Troubleshooting is an integral part of machining, and taking the time to resolve problems ensures your projects meet the highest standards.
Cutting an angle on a milling machine requires a systematic approach. You begin by preparing your tools and materials, setting up the machine, and aligning everything with precision. Each step, from securing the workpiece to finishing the cut, builds toward achieving accurate results. Preparation, precision, and safety are the cornerstones of success in machining.
"Precision machining has revolutionized industries like automotive and aerospace by enabling the creation of exact components."
Practice regularly to refine your skills. With dedication, you can master this essential technique and contribute to the legacy of innovation that began with Eli Whitney’s invention of the milling machine.
FAQ
What is the most important factor for cutting angles accurately?
Accuracy plays the most critical role in cutting angles accurately. You must ensure proper alignment of the workpiece and the milling machine.
"When it comes to angle machining, accuracy is the key," as emphasized by machining experts. Proper preparation and attention to detail ensure high-quality results.
Can I use a miter saw to cut acute angles?
Miter saws have limitations when cutting acute angles, especially those greater than 55 degrees. For such tasks, you may need additional tools or jigs to assist in achieving the desired angle. Milling machines, equipped with angle plates or tilting vises, provide a more versatile solution for cutting acute and complex angles.
"Cutting acute angles often requires specialized equipment," making milling machines a better choice for precision work.
What tools are essential for cutting angles on a milling machine?
You need several essential tools to cut angles effectively:
- A well-maintained milling machine.
- Angle plates or tilting vises for securing the workpiece.
- End mills or angle milling cutters for shaping the material.
- Protractors or angle gauges for measuring angles.
- Clamps and fixtures to stabilize the workpiece.
Optional accessories like digital readouts and edge finders can further enhance precision and efficiency.
How do double-angle cutters help in machining?
Double-angle cutters are ideal for creating complex angular geometries. These tools cut both sides of a V-shaped groove simultaneously, making them perfect for machining included angles in a single pass. Common configurations include 45°, 60°, and 90° cutters, which are widely used for intricate designs.
"Double-angle cutters simplify the process of machining multiple angled surfaces," ensuring efficiency and precision.
Why does my workpiece move during cutting?
Workpiece movement often occurs due to insufficient clamping or loose fixtures. To prevent this, secure the workpiece using multiple clamps or a high-quality vise. Tighten all bolts and screws on the angle plate or tilting vise. Stability ensures the cutting tool follows the intended path without deviation.
"Stability is key to precision," as noted by experienced machinists. A secure setup guarantees accurate results.
How can I achieve a smooth surface finish?
To improve surface finish, follow these tips:
- Use sharp cutting tools to create clean cuts.
- Reduce the feed rate for smoother operation.
- Apply cutting fluid to minimize friction and heat buildup.
These steps not only enhance the finish but also extend the lifespan of your cutting tools.
What should I do if the angle cut is inaccurate?
If your angle cut is off, check the following:
- Verify the alignment of the angle plate or tilting vise.
- Recalibrate your measuring tools, such as protractors or angle gauges.
- Inspect the cutting tool for wear or damage.
Making these adjustments ensures your setup produces precise and accurate cuts.
Are there any tips for cutting angles cleanly?
Yes, here are some tips to achieve clean and precise angle cuts:
- Support the workpiece properly to prevent movement or kickback.
- Use a guide or fence to maintain a straight line for longer cuts.
- Select a sharp, high-quality cutting tool suited for your material.
"A sharp blade and proper support are essential for clean cuts," as recommended by machining professionals.
Can I cut multiple angles on a single workpiece?
Yes, you can cut multiple angles on a single workpiece using a milling machine. Tools like rotary tables or custom fixtures allow you to reposition the workpiece easily. Double-angle cutters are particularly useful for machining complex geometries with multiple angled surfaces.
How do I troubleshoot overheating during cutting?
Overheating often results from excessive cutting speeds or feed rates. To address this:
- Reduce the spindle speed and feed rate.
- Apply coolant or cutting fluid to dissipate heat.
- Use sharp cutting tools to minimize friction.
These measures help maintain the quality of your workpiece and protect your tools from damage.
See Also
Guide to Using a Desktop CNC for Metal Cutting
How to Enhance CNC Machines for Metal Cutting
Complete Instructions for Operating a Hair Cutting Device