Can you use a die cut without a machine?

Yes, you can absolutely create die cuts without a machine! With just a few tools, your hands can achieve results that rival those of expensive machines. Many crafters wonder, "can you use a die cut without a machine?" and the answer is a resounding yes. Manual methods offer flexibility and don’t rely on electricity or bulky equipment. For instance, some use stencils or templates to trace designs, while others rely on craft knives for precision. One crafter shared how they loved the simplicity of manual die cutting, especially when space was limited. This hands-on approach not only saves money but also adds a personal touch to every project.
Key Takeaways
create die cuts by hand using simple tools like craft knives, cutting mats, and stencils, making it accessible for everyone. Investing in quality tools, such as a sharp craft knife and a metal ruler, significantly improves the precision and outcome of your die cuts.
- Practice on scrap materials before starting your main project to build confidence and refine your cutting technique.
- A well-organized and well-lit workspace enhances your focus and accuracy, reducing the chances of mistakes during the cutting process.
- Experimenting with various materials like cardstock, felt, and vinyl opens up new creative possibilities for your die-cutting projects.
- Taking your time and working slowly through each step ensures clean, professional-looking results that showcase your creativity.
Tools and Materials Needed for Manual Die Cutting

When you’re ready to dive into manual die cutting, having the right tools and materials makes all the difference. Let’s break it down so you can get started with confidence.
Essential Tools for Manual Die Cutting
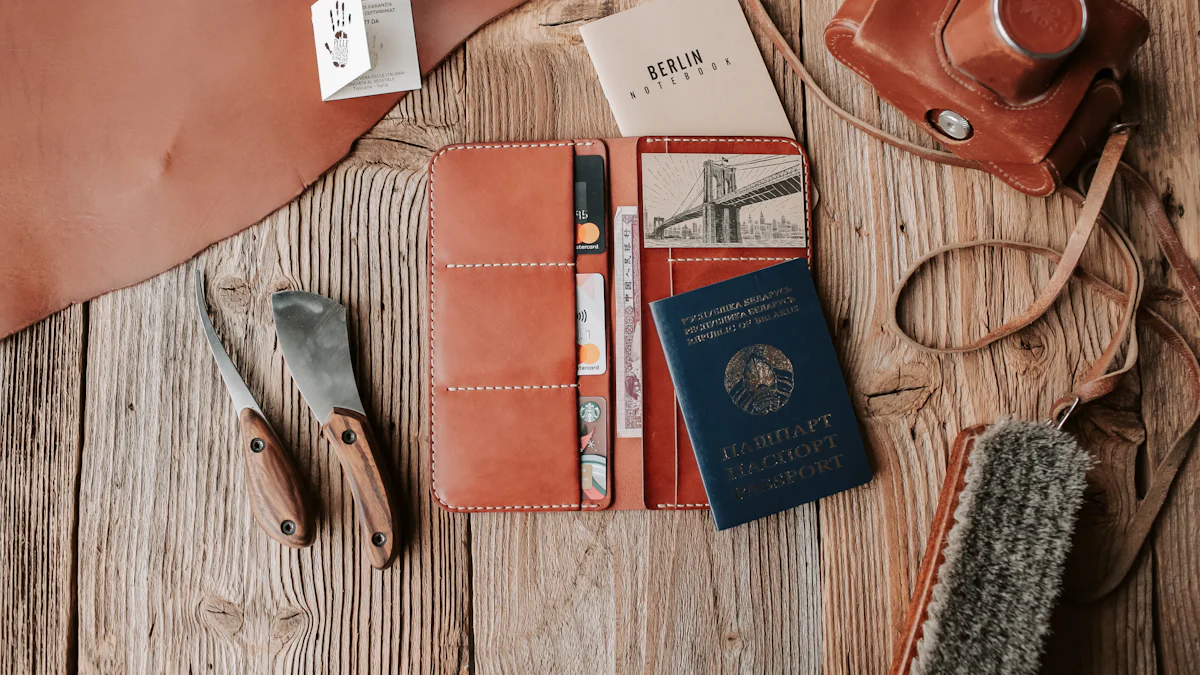
To create clean and precise die cuts by hand, you’ll need a few must-have tools. These essentials will help you achieve professional results without relying on a machine:
- Craft Knife or Precision Blade: A sharp craft knife is your best friend for cutting intricate designs. Look for one with a comfortable grip for better control.
- Cutting Mat: Protect your workspace and ensure smooth cuts with a self-healing cutting mat. It also helps keep your blade sharp for longer.
- Ruler or Straight Edge: Use a metal ruler to guide your cuts and keep your lines straight. Plastic rulers may slip or get damaged during cutting.
- Templates or Stencils: These are crucial for tracing your designs onto the material. You can buy pre-made stencils or create your own using cardstock or acetate sheets.
- Pencil or Fine-Tip Marker: You’ll need something to trace your design onto the material. A pencil works well for lighter materials, while a fine-tip marker is better for darker surfaces.
These tools form the foundation of manual die cutting. They’re simple, affordable, and easy to find at most craft stores.
Optional Tools to Enhance Your Results
While the essentials are enough to get started, a few optional tools can take your projects to the next level. These extras can make the process smoother and your designs more polished:
- Embossing Tool: Add texture and dimension to your die cuts with an embossing tool. It’s perfect for creating raised details or patterns.
- Steel Rule Dies: These heavy-duty dies are great for cutting thicker materials like leather or chipboard. You can use them manually by applying pressure with a mallet or rolling pin.
- Tweezers or Pick-Up Tools: Handling small or delicate pieces becomes much easier with tweezers. They’re especially useful for assembling layered designs.
- Adhesive Sheets or Spray Glue: If you’re layering die cuts, adhesive sheets or spray glue can help you stick pieces together seamlessly.
- Decorative Scissors: These scissors come with patterned blades that add a fun touch to your edges. They’re great for borders or simple embellishments.
These tools aren’t necessary, but they can make your crafting experience more enjoyable and your results more impressive.
Best Materials for Manual Die Cutting
Choosing the right materials is just as important as having the right tools. The material you use will affect the final look and durability of your die cuts. Here are some of the best options:
- Cardstock: This is the go-to material for most die-cutting projects. It’s sturdy, versatile, and comes in a variety of colors and textures.
- Felt: For soft and textured designs, felt is an excellent choice. It’s easy to cut and works well for embellishments on fabric projects.
- Vinyl: If you’re making stickers or decals, vinyl is a fantastic option. It’s durable and comes with an adhesive backing for easy application.
- Chipboard: For thicker, more durable die cuts, chipboard is ideal. It’s perfect for creating tags, ornaments, or 3D projects.
- Acetate Sheets: These clear sheets are great for creating stencils or overlays. They’re also useful for adding a glossy finish to your designs.
Experimenting with different materials can open up new possibilities for your projects. Start with what you have on hand, and don’t be afraid to try something new.
“The beauty of manual die cutting lies in its versatility. With the right tools and materials, you can bring any design to life.”
By gathering these tools and materials, you’ll set yourself up for success. Whether you’re a beginner or an experienced crafter, having the right supplies makes the process more enjoyable and the results more rewarding.
Step-by-Step Guide: Can You Use a Die Cut Without a Machine?
die cuts by hand may seem challenging at first, but with the right steps, you’ll find it both enjoyable and rewarding.
Step 1: Choose and Prepare Your Design
Start by selecting a design that fits your project. Simple shapes like stars or hearts work well for beginners, while intricate patterns are great for experienced crafters. You can find inspiration online, in craft books, or by sketching your own ideas.
Once you’ve chosen a design, prepare it for tracing. If you’re using a stencil or template, ensure it’s clean and free of damage. For custom designs, draw or print your pattern on sturdy paper like cardstock. This will make tracing easier and more accurate.
“The key to a successful die cut is starting with a clear and well-prepared design.”
Take your time during this step. A well-prepared design sets the foundation for a clean and professional result.
Step 2: Set Up Your Workspace
A good workspace makes all the difference when working on manual die cuts. Choose a flat, stable surface with plenty of room to spread out your tools and materials. A clutter-free area helps you focus and reduces mistakes.
Place a self-healing cutting mat on your surface to protect it and keep your cuts smooth. Ensure your workspace has proper lighting. Natural light works best, but a desk lamp with adjustable brightness can also do the job. Poor lighting can lead to uneven cuts or missed details.
Keep your tools within easy reach. Arrange your craft knife, ruler, and stencils neatly so you don’t waste time searching for them. If you’re working with small pieces, tweezers can help you handle them with precision.
Pro Tip: Organize your materials by type—cardstock, felt, or vinyl—so you can quickly grab what you need.
A well-organized workspace not only saves time but also makes the process more enjoyable.
Step 3: Trace Your Design
Now it’s time to transfer your design onto the material of your choice. Place your stencil or template on the material and hold it firmly in place. Use a pencil for light-colored materials or a fine-tip marker for darker ones. Trace the outline carefully, ensuring you don’t shift the stencil.
If you’re working with a custom design, secure it to the material with removable tape. This prevents it from moving as you trace. For intricate patterns, take your time and focus on accuracy. Rushing through this step can lead to uneven edges or distorted shapes.
“Precision during tracing ensures your final die cut looks polished and professional.”
Double-check your traced lines before moving on. Clean, clear outlines make the cutting process much smoother.
Step 4: Cut Out Your Design
Now comes the exciting part—cutting process! This step requires patience and precision, but with the right approach, you’ll achieve clean and professional results.
-
Secure Your Material: Place your material on the cutting mat to prevent slipping. If needed, use removable tape to hold it in place. This ensures your cuts stay accurate and prevents accidents.
-
Use a Craft Knife or Scissors: For intricate designs, a craft knife works best. Hold the knife firmly and guide it along the traced lines with steady pressure. If your design has straight edges, use a ruler as a guide. For simpler shapes, scissors can be a quicker option.
-
Work in Sections: Don’t try to cut the entire design in one go. Break it into smaller sections and focus on one area at a time. This helps maintain control and reduces the chance of mistakes.
-
Check Your Progress: After cutting a section, lift the material gently to check if the cut is complete. If any areas are still attached, go over them again carefully. Avoid pulling the material, as this can tear your design.
“Taking your time during this step ensures your die cut looks polished and professional.”
Remember, practice makes perfect. If your first attempt isn’t flawless, don’t worry. Each cut improves your skills and builds confidence.
Step 5: Refine and Add Details
Once you’ve cut out your design, it’s time to refine it and add those finishing touches that make it stand out. This step transforms your die cut from good to great.
-
Smooth the Edges: Use a fine-grit sandpaper or an emery board to smooth any rough edges. This is especially helpful for thicker materials like chipboard. For delicate materials, a gentle touch is key.
-
Add Texture or Embellishments: If you want to elevate your design, consider adding texture or details. Use an embossing tool to create raised patterns or add decorative elements like glitter, sequins, or paint. These small touches can make a big difference.
-
Layer Your Die Cuts: For a 3D effect, layer multiple die cuts on top of each other. Use adhesive sheets or spray glue for a seamless finish. This technique works well for creating cards, scrapbook pages, or ornaments.
-
Inspect Your Work: Before calling it finished, take a moment to inspect your die cut. Look for any uneven edges or areas that need extra attention. Fixing these small details ensures your final piece looks professional.
“Refining your die cut adds a personal touch and showcases your creativity.”
By taking the time to refine and enhance your design, you’ll create a piece that truly stands out. Whether it’s a simple shape or an intricate pattern, these final steps bring your vision to life.
Tips for Achieving Clean and Professional Results

Creating flawless die cuts by hand takes practice and attention to detail. These tips will help you refine your technique and achieve results that look polished and professional.
Invest in Quality Tools
Using high-quality tools makes a noticeable difference in your projects. A sharp craft knife ensures clean cuts, while a durable cutting mat protects your workspace and keeps your blade in top condition. Opt for a metal ruler instead of plastic for better precision and stability during cutting.
“The right tools not only make the process easier but also improve the final outcome,” says a crafting instructor. Investing in reliable tools saves time and frustration, especially when working on intricate designs.
Don’t overlook the importance of good stencils or templates. Pre-made options offer consistency, while custom ones let you explore your creativity. Choose tools that feel comfortable in your hands to maintain control and accuracy.
Practice Before Starting
Before diving into your main project, take some time to practice. Use scrap materials to test your tools and refine your technique. Practicing helps you get a feel for the pressure needed when cutting and tracing.
Start with simple shapes like circles or squares. As you gain confidence, move on to more complex designs. This step allows you to identify potential challenges and address them before working on your final piece.
“Every expert was once a beginner.” Practicing builds your skills and ensures your finished project meets your expectations.
Work Slowly and Carefully
Rushing through the process often leads to mistakes. Take your time with each step, from tracing your design to cutting it out. Focus on steady, controlled movements to avoid uneven edges or accidental slips.
Break your work into smaller sections. For example, cut intricate patterns in stages rather than attempting to complete them in one go. This approach helps you maintain precision and reduces the risk of errors.
Proper lighting also plays a crucial role. A well-lit workspace allows you to see fine details clearly, making it easier to follow your traced lines. Natural light works best, but an adjustable desk lamp can also do the trick.
“Patience and attention to detail are your best allies when creating professional-looking die cuts.”
By following these tips, you’ll elevate your manual die-cutting skills and create pieces that stand out. Whether you’re crafting for fun or working on a special project, these techniques ensure your results look clean, polished, and impressive.
Ensure Proper Lighting
Good lighting can make or break your manual die-cutting experience. When you work in a well-lit space, you see every detail clearly, which helps you avoid mistakes and achieve clean results.
Start by choosing a workspace with plenty of natural light. A sunny spot near a window works wonders for visibility. If natural light isn’t an option, invest in a desk lamp with adjustable brightness. Look for one that mimics daylight to reduce eye strain and improve focus.
“Proper lighting is essential for precision,” says a crafting instructor. “It allows you to see fine details and ensures your cuts are accurate.”
Here are some tips to optimize your lighting setup:
- Position Your Light Source: Place your light so it shines directly onto your workspace without casting shadows. Overhead lighting works well, but a lamp positioned at an angle can also help illuminate intricate designs.
- Avoid Glare: If you’re working with glossy materials like acetate or vinyl, glare can be distracting. Use a matte surface or adjust your light to minimize reflections.
- Use Multiple Light Sources: Combining a desk lamp with ambient room lighting creates an even distribution of light. This reduces harsh contrasts and makes it easier to focus on your work.
A well-lit workspace not only improves your accuracy but also makes the process more enjoyable. You’ll feel more confident tackling intricate designs when you can see every line and detail clearly.
Die cutting without a machine offers a hands-on, creative way to craft unique designs.
FAQ
Can you create intricate designs without a die-cutting machine?
Yes, you can! create intricate designs are achievable with the right tools and patience.
What materials work best for manual die cutting?
Cardstock is the most popular choice because of its sturdiness and versatility. Felt works well for soft, textured designs, while vinyl is perfect for stickers or decals. Chipboard adds durability to tags or ornaments, and acetate sheets are great for overlays or stencils. Experimenting with different materials can inspire new ideas for your projects.
How do you ensure clean and smooth edges?
To achieve smooth edges, use a sharp craft knife or scissors. Dull blades can tear the material, so replacing them regularly is essential. After cutting, refine the edges with fine-grit sandpaper or an emery board. For delicate materials, handle them gently to avoid damage.
Is manual die cutting suitable for beginners?
Absolutely! Manual die cutting is beginner-friendly, especially when starting with simple shapes like circles or stars. With basic tools like a craft knife, cutting mat, and stencils, you can create beautiful designs. Practicing on easy patterns builds confidence and prepares you for more complex projects.
How long does it take to create a die cut by hand?
The time depends on the complexity of the design and your experience level. Simple shapes may take just a few minutes, while intricate patterns require more time and focus. Working slowly and carefully ensures better results, so don’t rush the process.
Can you reuse stencils or templates?
Yes, stencils and templates are reusable if you handle them with care. Store them flat to prevent bending or damage. For homemade templates, use sturdy materials like cardstock or acetate sheets to increase their durability.
What’s the best way to add details to a manual die cut?
You can add details using embossing tools, decorative scissors, or embellishments like glitter and sequins. Layering multiple die cuts creates a 3D effect, while paint or markers enhance the design. Small touches make your project unique and eye-catching.
Do you need expensive tools for manual die cutting?
Not at all! Basic tools like a craft knife, cutting mat, and ruler are affordable and widely available. Optional tools like embossing tools or decorative scissors can enhance your results but aren’t necessary to get started. Investing in quality tools ensures better performance and durability.
How do you avoid mistakes when cutting by hand?
Set up a well-lit workspace and organize your tools before starting. Trace your design carefully and secure the material to prevent slipping. Work in small sections and check your progress as you go. Practicing on scrap material helps you identify and fix potential issues.
Can manual die cutting replace a machine?
Manual die cutting offers flexibility and creativity that machines can’t always match. While machines save time on repetitive tasks, hand-cutting allows for custom designs and a personal touch. It’s a cost-effective and space-saving alternative, especially for hobbyists or those new to crafting.
“Manual die cutting isn’t just a technique—it’s an art form that lets you bring your unique vision to life.”
See Also
Using Die Cuts Manually: A Simple Guide
Effortless Ways to Use Die Cuts Without Machines
Steps to Effectively Operate a Die Cutting Machine
